Brisham Wood - Campaign Turn 12
At some point, it’s better to just go with what we have instead of trying to reach an imagined quality level that’s probably not in reach yet. Thus, rather than continually trying to build the terrain I imagined in my head, I finally just decided to play out this campaign turn with what I had done so far.
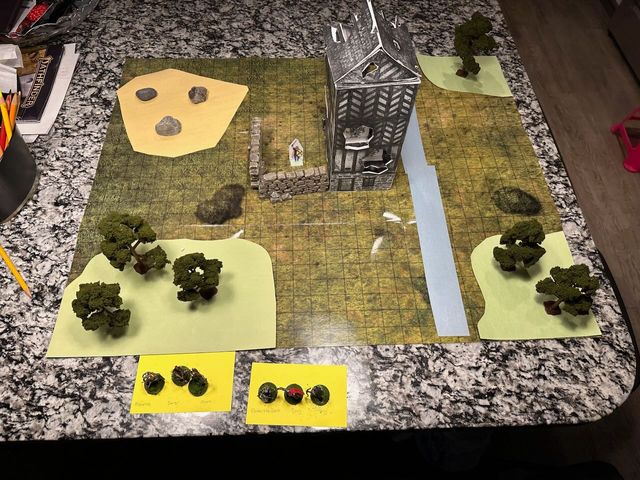
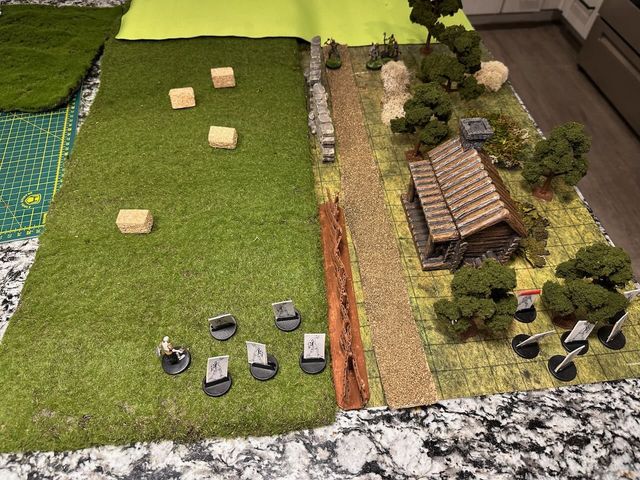
 The whole setup on my kitchen table
Preparation Stage
The Silver Hawks begin this campaign turn in Irongate, the largest settlement in Brisham Wood.
Perhaps this place is indeed a wretched hive of scum and villainy, or perhaps Maurice is just not savvy enough to avoid some of the predatory elements. Either way, he ends up getting swindled by scoundrels. Some sneaky thieves associated with one of the larger threats in the region (The Ruin Within) make off with a couple of gold marks. While Daisy and Carves-The-Dark counsel going after their local camp right now, the group agrees that they don’t want to miss out on the payment from their shadowy cabal friends by taking a shipment to Brisham Hall. (Reflecting his naivete, he doesn’t end up researching their identity after all.)
Carves-The-Dark also visits a local blacksmith to have their bastard sword repaired, which costs a full three gold marks. (Maybe it would have been more worthwhile to find a new one at that price!) But our fey-blooded warrior takes care of their martial possessions, and a sharp blade can save a life.
Chert, in contrast, puts his faith in his deity and prays for a blessing, which he receives. Perhaps related to this, Gunuert (their monk contact from the Priory of the Blessed Pine) asks them to discuss a significant effort.
He has learned of a ritual that could potentially set back the threats here in Brisham Wood quite significantly. The ritual has certain requirements, however, that he cannot yet fulfill, and that’s where he wants the help of the Silver Hawks. He would like for them to acquire a particular relic from a long-abandoned church near Brisham Hall, though he warns them that an especially dangerous monster makes its lair there. Maurice and the others readily agree; the fact that they already intend to head to Brisham Hall next is seen as a providential blessing.
Adventuring Stage
The outrider patrols discussed in the previous campaign turn have kept the paths clear, so they have no encounters on the way. Tiffany navigates them straight to the lair in the old church, relying on her scouting skill and knowledge of the local lands.
This church is inhabited by the ogre, a huge foe who relies on brute strength more than magical ability.
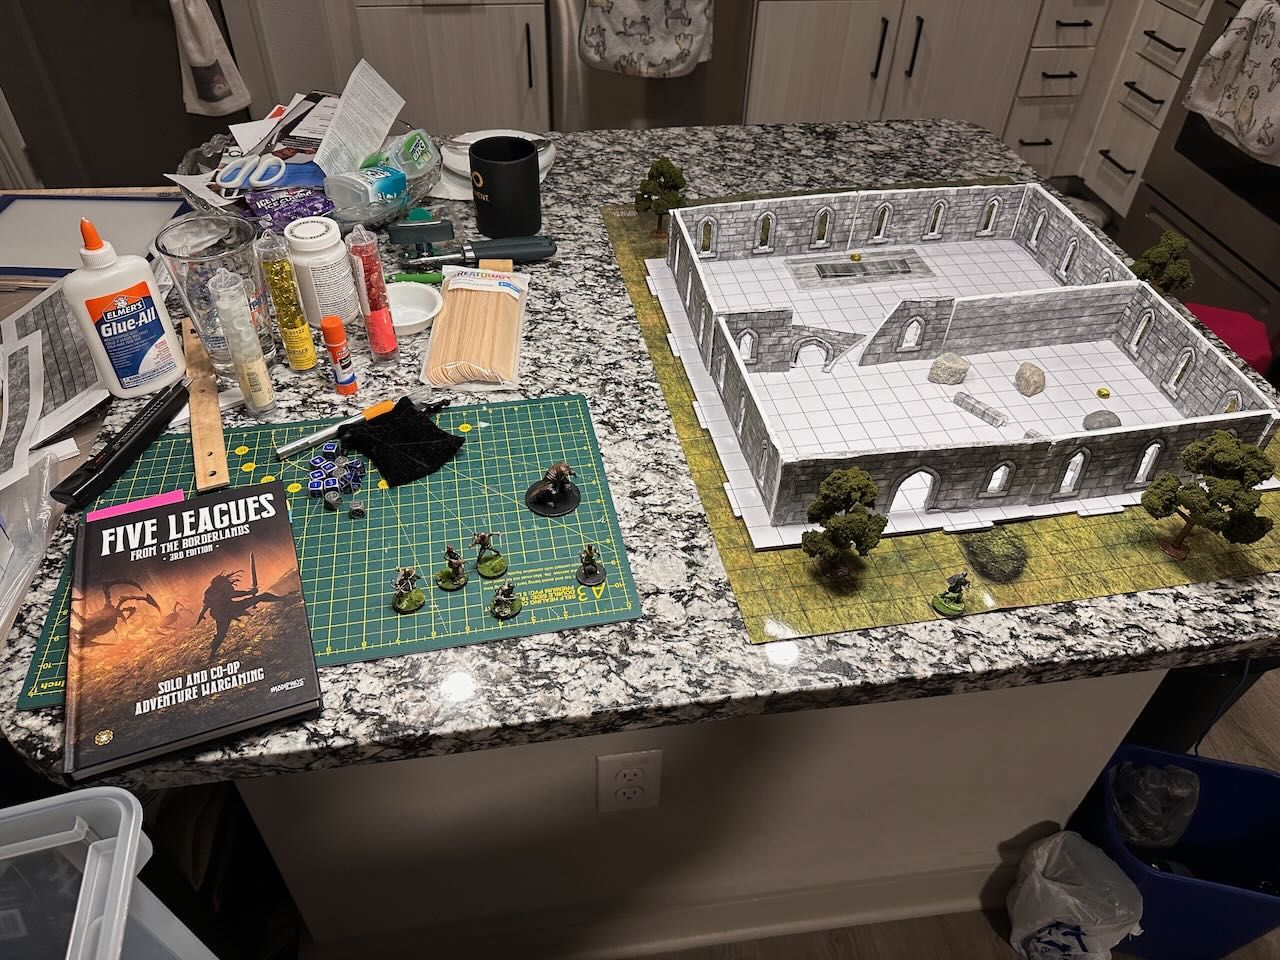
To build out this battle, I dug out some old dungeon tiles left over from my old D&D Adventurers League days. Rather than use their dry erase surface, however, I just wanted them to look like a floor. For the structure, I used some ruin textures from Crooked Staff Publishing (affiliate link) that I then glued onto foam core and sealed with Mod Podge.
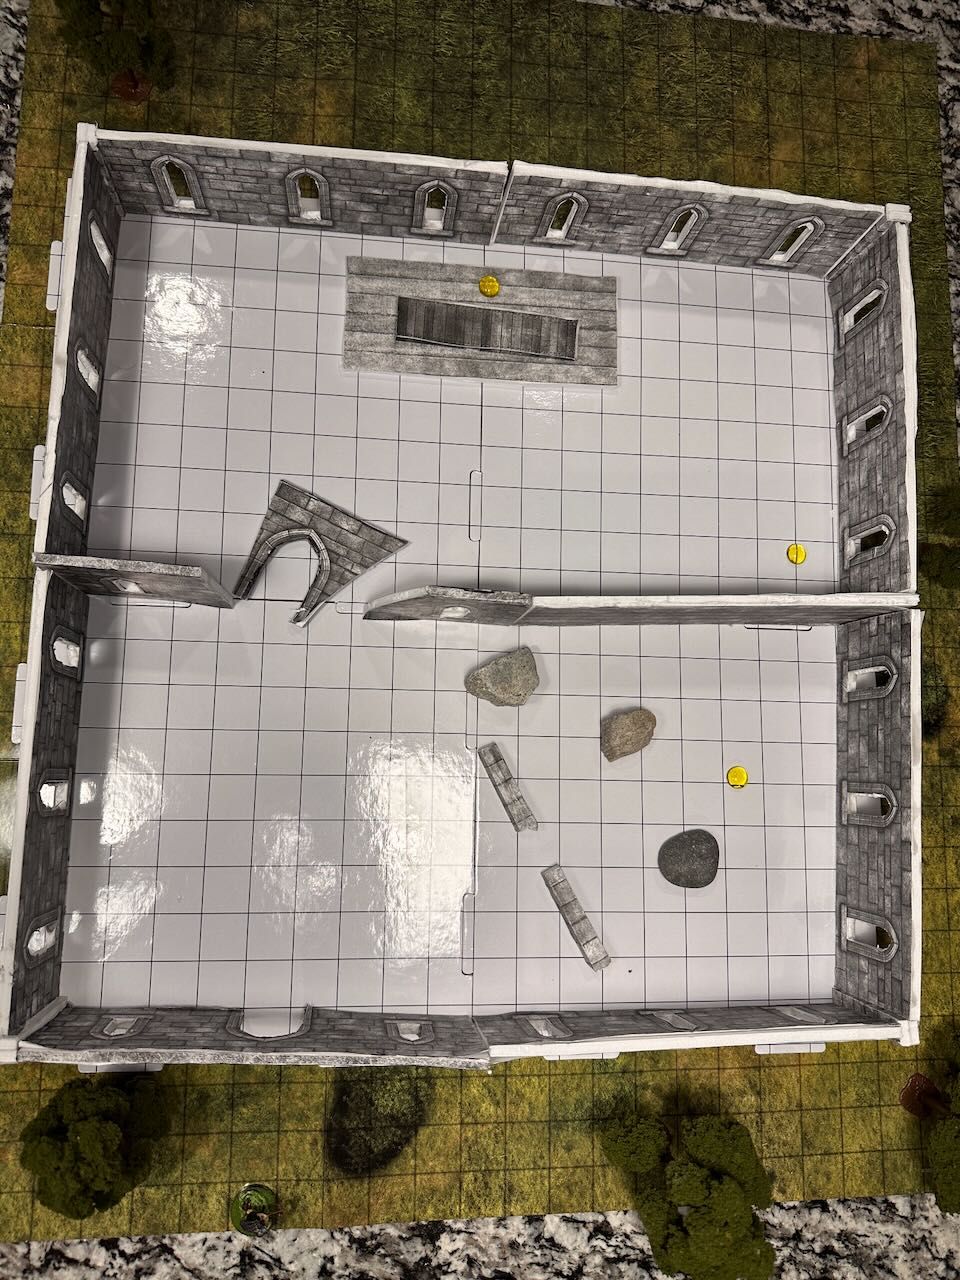 Setup of the Abandoned Church, including an altar and the exploration tokens
For the ogre, I used another pre-painted mini, a Ogre Mage from the D&D Icons of the Realms series.
As the scenario begins, I choose Tiffany as the group scout this time. She is placed just outside the ruin, weapon at the ready.
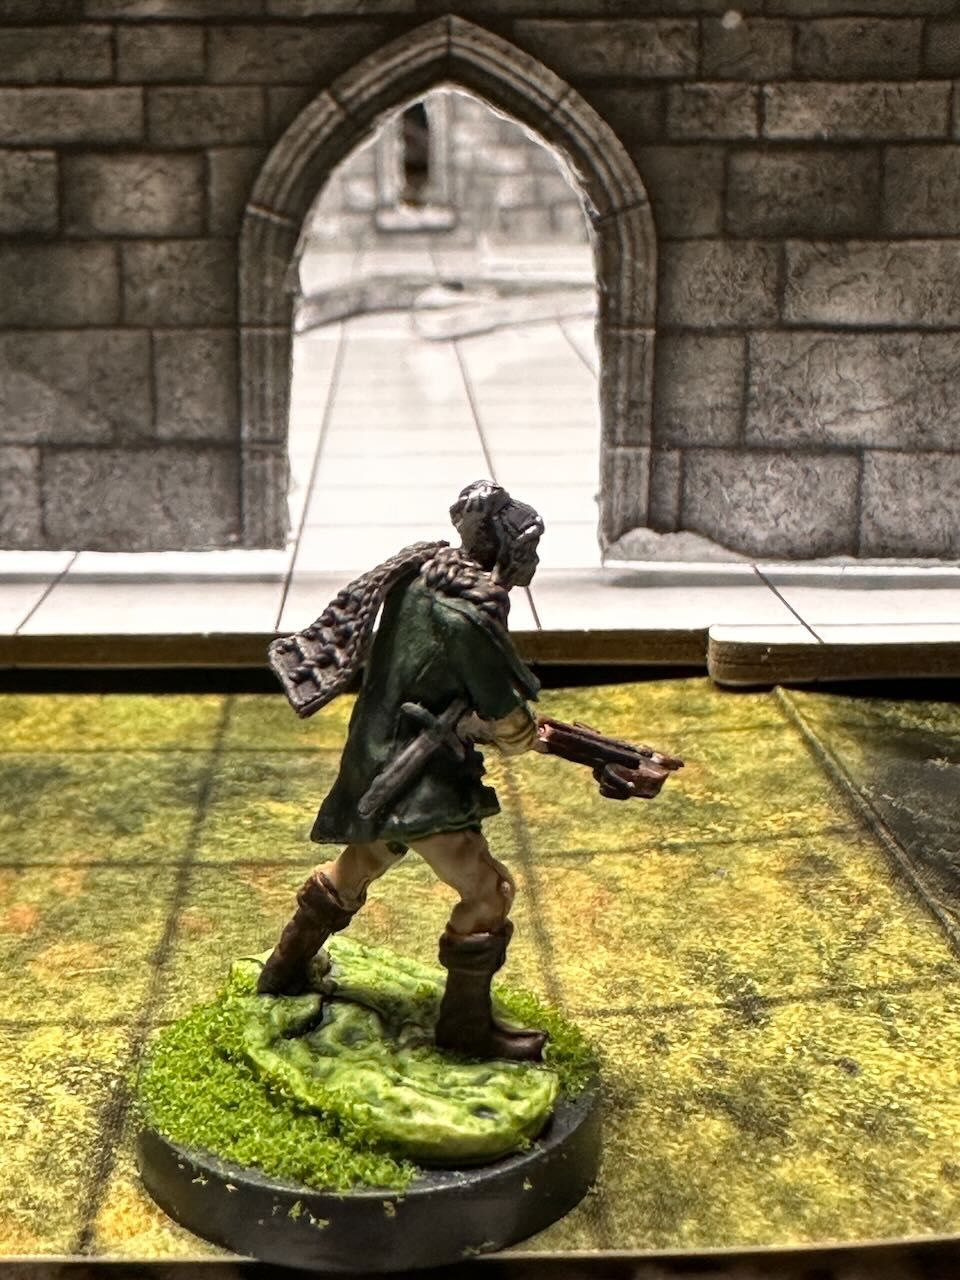 Tiffany scouting outside
She enters carefully and picks her way through the debris littering the floor of the entry hall. Monster tracks lead out of here to the sanctuary in back, and as she comes around the edge of the broken archway, she spots the monster. Perched on the chancel behind the altar stands a huge slobbering ogre!
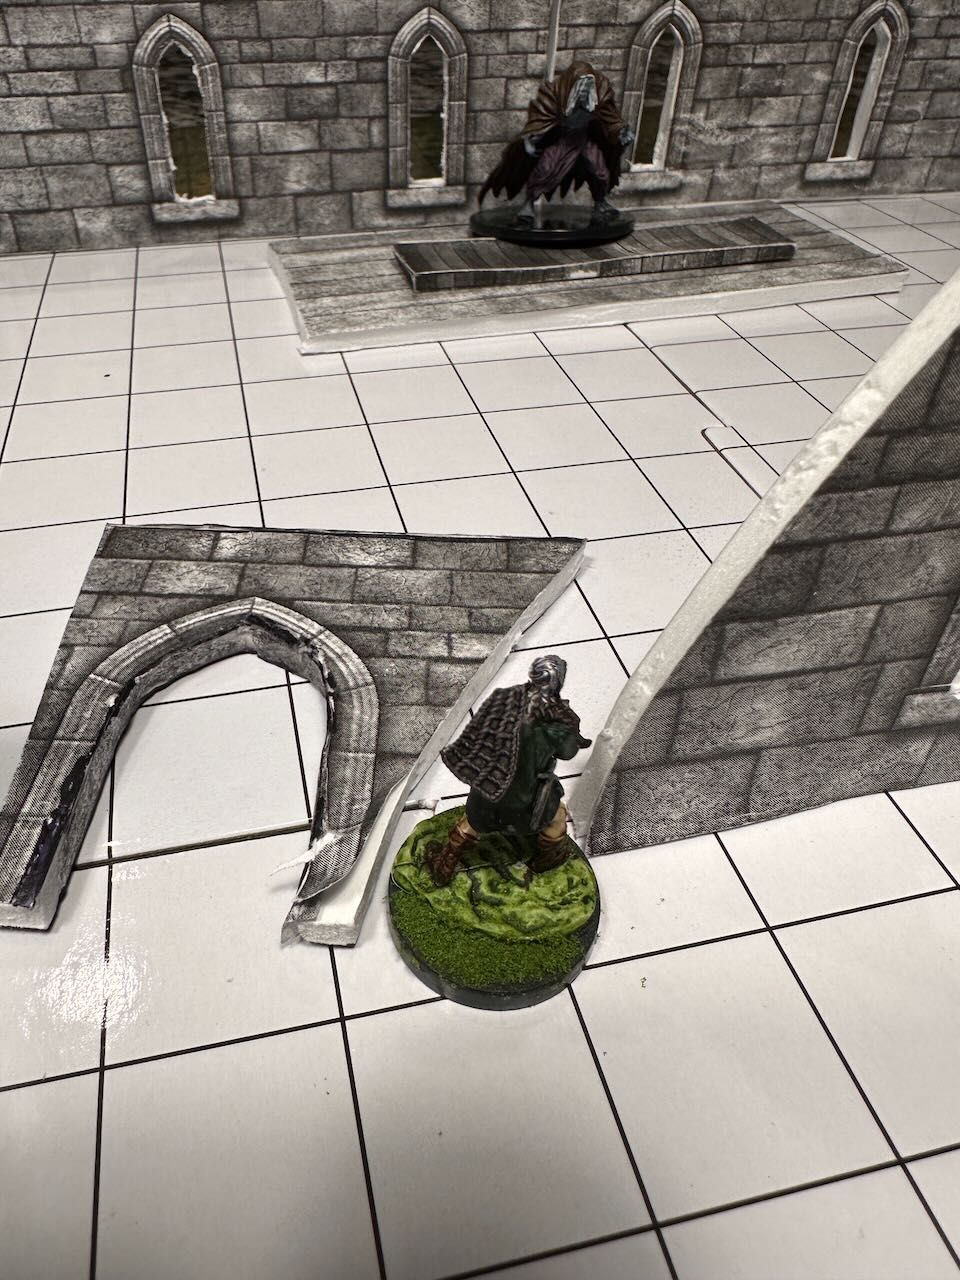 Ogre behind the altar
It’s unaware of her presence as the group deploys into the church rapidly.
Battle
Chert fires his longbow but misses in the shifting lighting of the ruins. The ogre leaps the altar in a single bound, screaming as it advances towards the group. Maurice and Tiffany both fire their missile weapons, and a couple of bolts strike the monster but bounce off it harmlessly.
Chert moves up to an interior window and shoots again. The ogre shrugs off the hits, though, and charges Tiffany. It takes her down immediately, to everyone’s horror. Maurice and Danticus are unable to hurt it, but Daisy finally lands a missile that injures the monster.
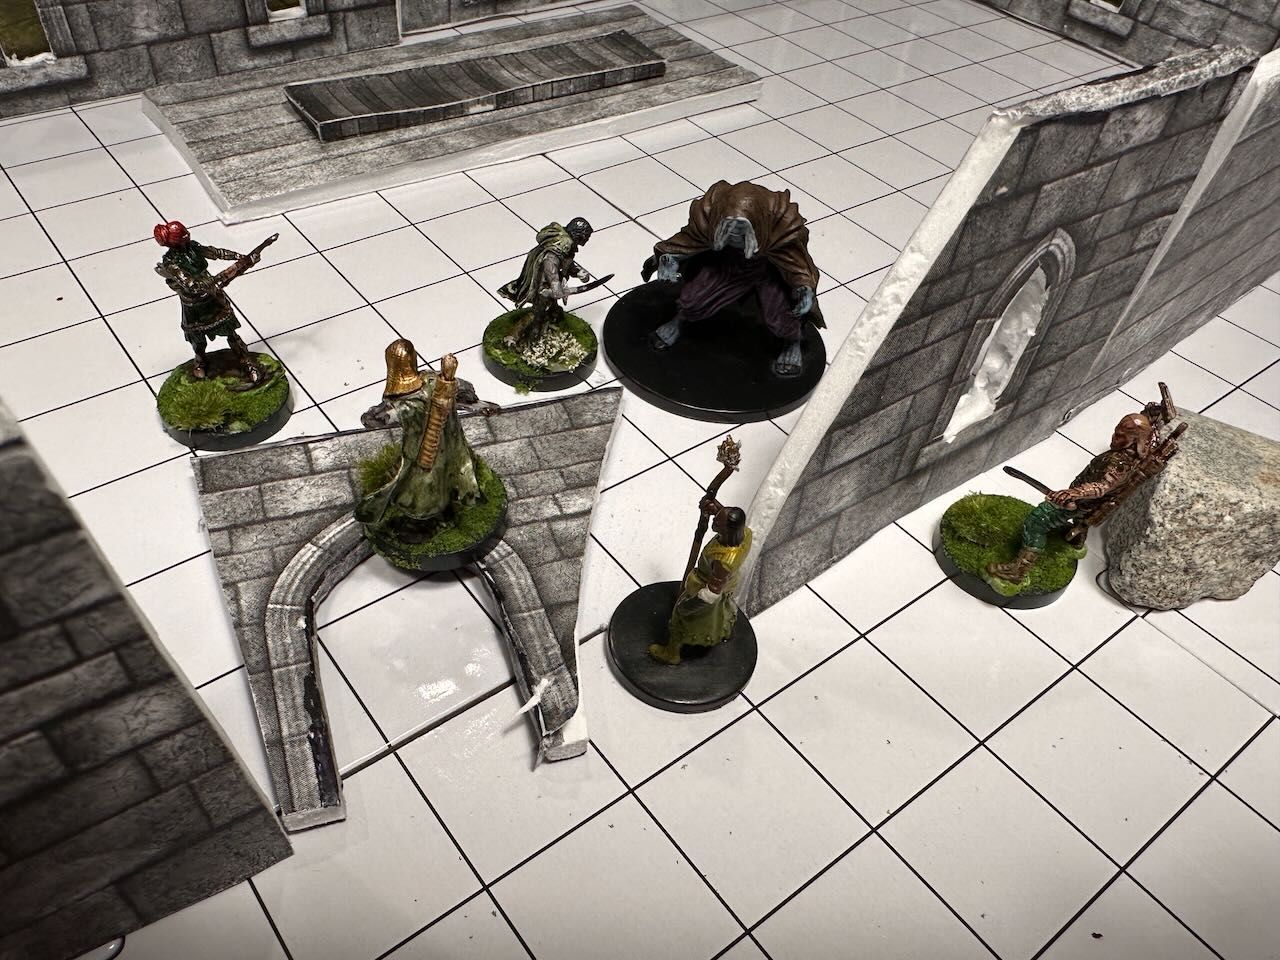 Final round of the fight
This seems to have had some effect, because Maurice lands another injuring shot before Daisy stuns it. This gives Carves-The-Dark exactly the opening they need to drive that newly-repaired bastard sword right into the ogre’s chest, ending it permanently.
Resolution Stage
Tiffany just has light injuries. She’ll miss a couple of campaign turns but will recover completely.
In the remains of the altar, not only do they find the sought-after relic, but they recover 2 gold marks, arcane research notes, and a set of alarm traps. They also take the ogre’s cloak.
Afterwards they make their way to Brisham Hall proper and deliver the shipment from Irongate, earning them 3 Adventure Points. They also get word that a wise woman in the forest has something that can help them with Gunuert’s quest.
Wrap Up
I learned a lot about terrain building here. Foam core is not necessarily hard to work with, but if your blade isn’t sharp, it sure can be! There’s also something to practicality over perfection, since ultimately the goal is to play the game. It did lead to one mistake; I’d intended to put some broken columns in the church to break up lines of sight even more, but they ended up forgotten.
In terms of 5 Leagues, I have seen once again how incredibly powerful missile weapons are. For story purposes, it’s important to make sure that the terrain doesn’t overly advantage characters who can fight at range.
I’m glad to have a quest, though; that will give me a bit more structure to build my narrative around.