Brisham Wood - Campaign Turn 15
If the discussion on the Nordic Weasel Games Discord server are any indication, I’ve gotten farther in this campaign of 5 Leagues From the Borderlands than many do. It sounds like quite a few peter out around 6 turns, which makes a lot of sense to me. Already I feel the pull to other games. But we press on in service of the good people of Brisham Wood!
Preparation Stage
The Silver Hawks are in Irongate, and there’s field work that needs doing. But they’re not here to fertilize wheat, but to defend the land. Instead, Maurice helps the town guard for a night, while Danticus visits the blacksmith to have a staff repaired. There’s no trading available yet due to bandit activity in the area.
After these necessary matters are cared for, Maurice decides to take his warband to the dead forest of Scartara and raid the encampment maintained by the Whispers From Beyond there.
Adventure Stage
On the way to Scartara, not long after leaving Irongate, they are waylaid by foes! Some rag-tag brigands, lead by a ruthless killer, have laid an ambush specifically for them.
There are 9 total enemies: a leader (Unique Foe), an archer, and the rest are melee brigands. The leader is a vile murderer fighting with a brutal efficiency here specifically to hunt the Silver Hawks.
The warband hasn’t traveled far when the brigands spring their ambush.
 Irongate ambush
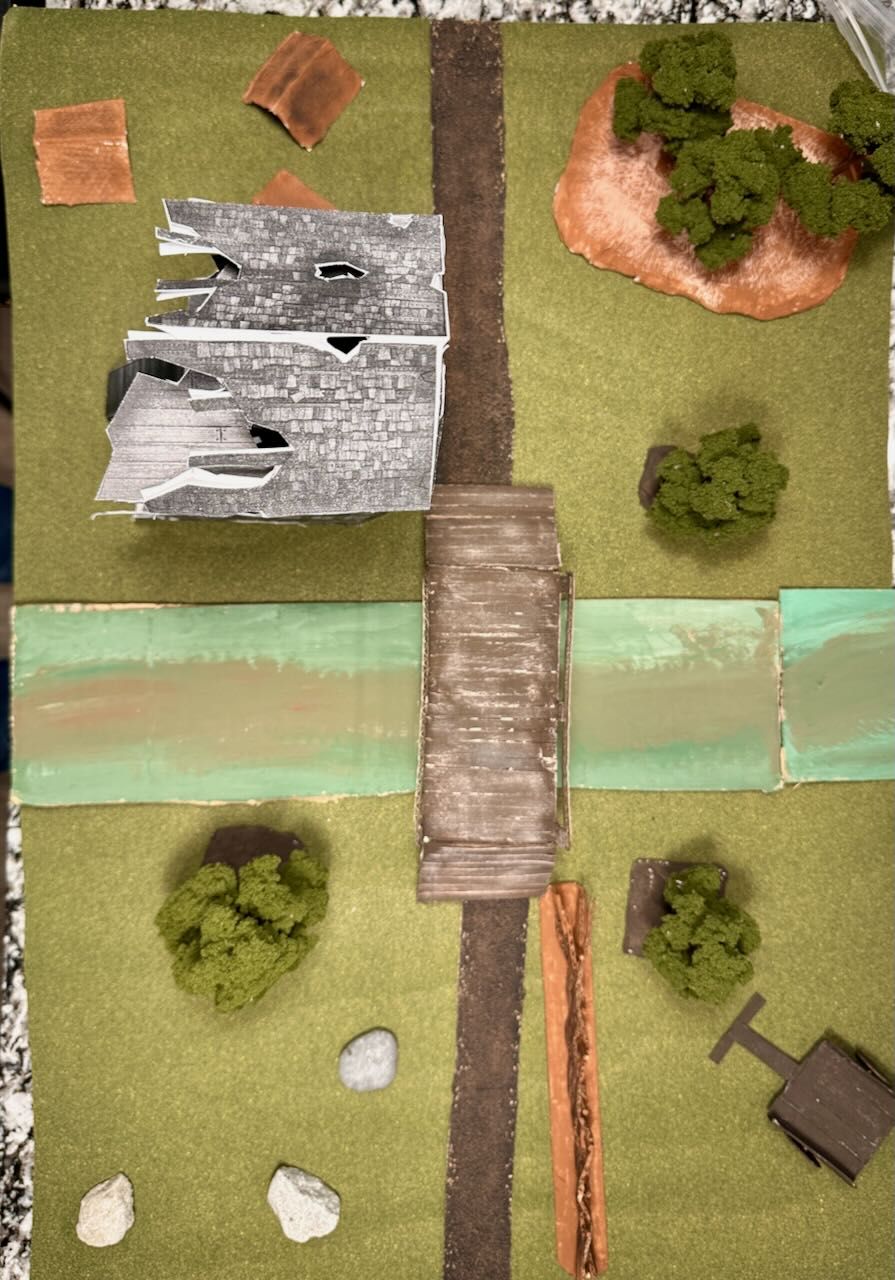
Again I used that ruined tower papercraft; I think this is the last time I’ll use that particular object though. (I might use the texture set again but on sturdier material.) I tried several other methods of making a stream, but they didn’t work out and so eventually painted cardboard was all I used. The bridge was fun to make, though! It’s still just cardboard and crafting sticks with paint and glue, but the weathered wood texture came out half decently.
The warband enters from the south (lower portion) of the battlefield. They are unaware that brigands are hunting them, so the enemy is able to infiltrate quietly until they’re detected when one of them finishes crossing the muddy stream.
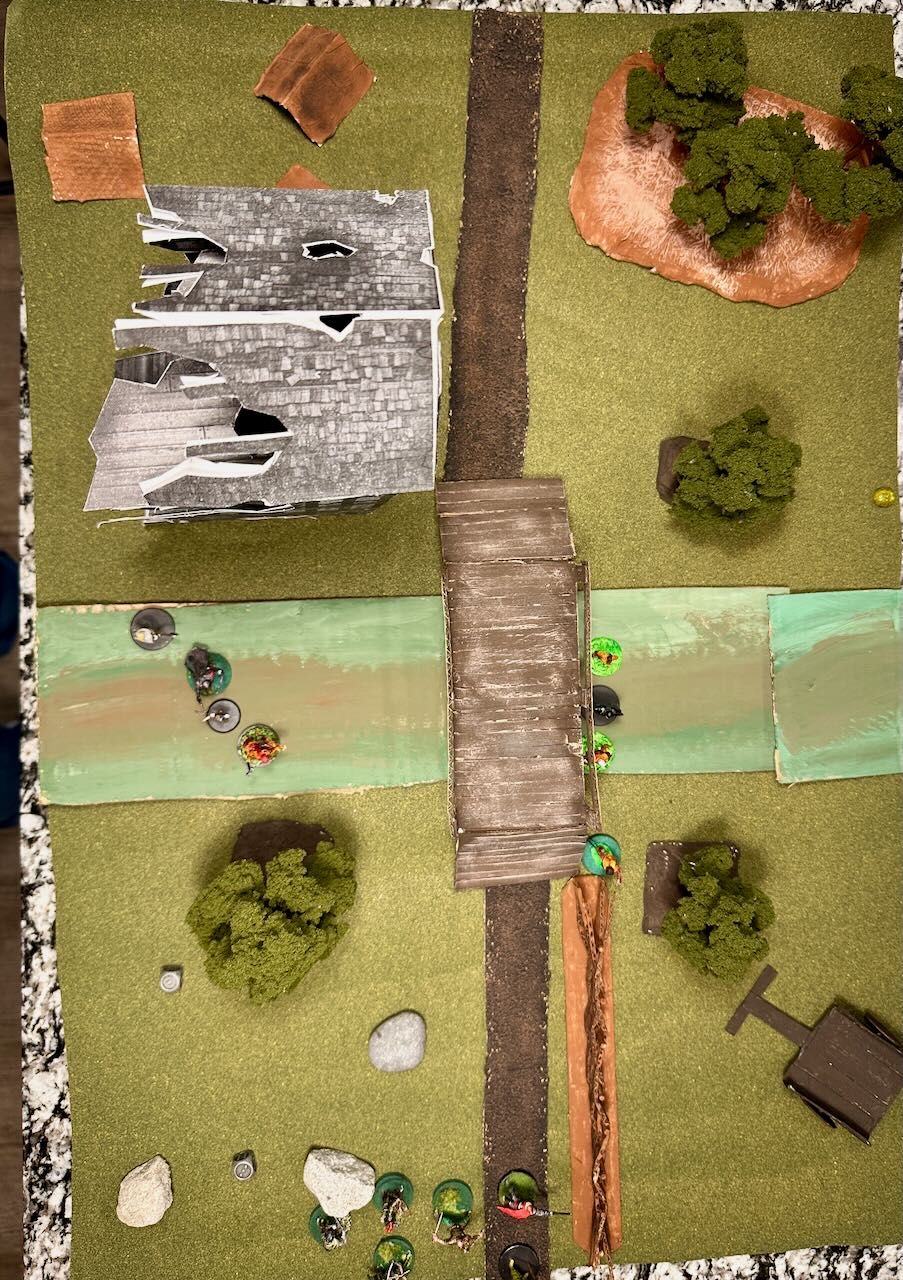 Irongate fight starts
Turn 1
Drog sees the enemies first and runs ahead, drawing his self bow as he goes and wounding the first brigand. An enemy archer returns fire from up in the ruined tower without effect, but that will definitely give the Silver Hawks something to think about.
Daisy takes careful aim at that lead brigand with her longbow and brings down the enemy. Chert similarly looses a volley on the enemy behind that, giving them a serious wound for their trouble. Danticus and Maurice return fire but can’t quite get the range. Carves-The-Dark rushes to Drog’s side so that he has support athis back.
Turn 2
Daisy has an easy shot on a wounded brigand in the road, taking them down. Maurice manages to hit the archer in the tower but doesn’t kill him. The enemy Leader makes quick, gruesome work of Drog, who goes down in a pool of blood. Another tries his luck with Carves-The-Dark but is forced back; CTD then wounds the vile murderer leading these brigands.
Turn 3
The enemy archer finally puts an arrow into Carves-The-Dark but the fey-blooded warrior pushes through the pain. A few of them charge CTD as well without real effect. After this, their leader gets into a melee with CTD, attempting to best his minions, but the two are left in a draw. Another pair of brigands charge Maurice; he slays them both. (At this point, more than half of the enemy has been defeated, which counts as achieving the objective.)
Before the Silver Hawks pull back, though, they make a couple of attempts on the enemy leader, whose armor and sheer toughness exceed that of the other brigands, and thus he manages to survive.
Seeing all this, a couple of the wounded brigands (including that archer in the tower) flee for their lives, and their leader follows, indicating that the Hawks are not worth the risk.
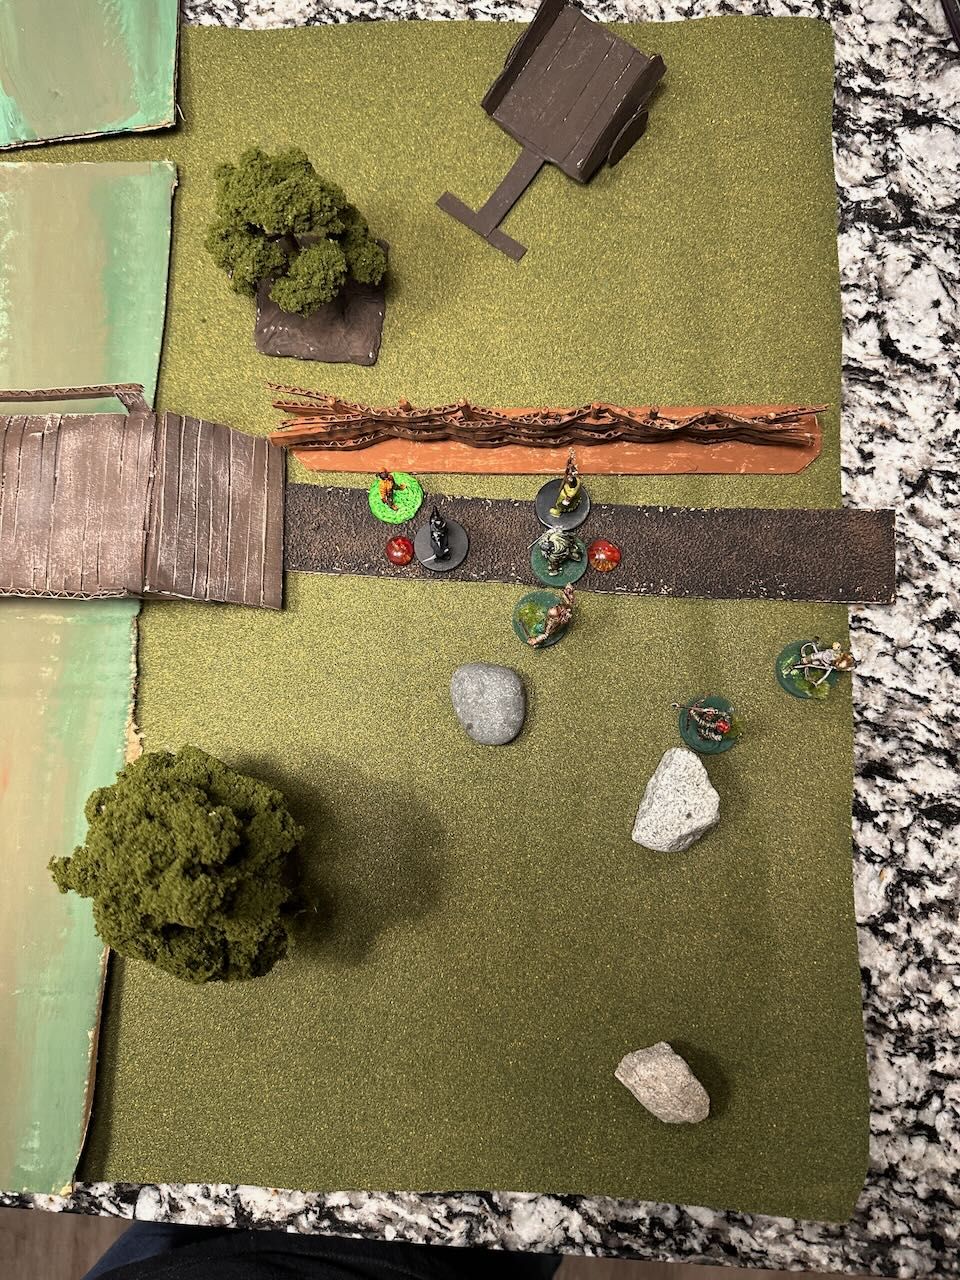 “They’re not worth it!”
We have held the field!
Resolution Stage
Drog has taken a serious wound and will be out of action for a couple of campaign turns. Chert levels up and gets another point of Will (something I need to remember to use).
The brigands left some equipment behind them: a set of light armor with a helm, plus a couple of battered weapons.
The weather worsens as the warband continue to press on towards the enemy encampment, but this turns out to be quite a slog and their progress is slow enough that they eventually make camp. (This gives Tiffany and Drog an extra recovery turn, in fact.)
Next time, they will find their way into the dead and blackened forest known as the Scartara!
Wrap-Up
This week’s crafting was a good bit of fun, although I was disappointed that I couldn’t get the better stream techniques to work in time. I did use a couple of story points, though I’d forgotten about Luck and Will. Next time!
I’ve finally reached the point where I don’t need to build everything for the next fight from scratch. Just as importantly, some techniques seem to work better for me than others, and discovering which ones has been a good process.
