Brisham Wood - Campaign Turn 6
I didn’t expect to have another campaign turn published so quickly, but it went quickly, so here we are.
Preparation Stage
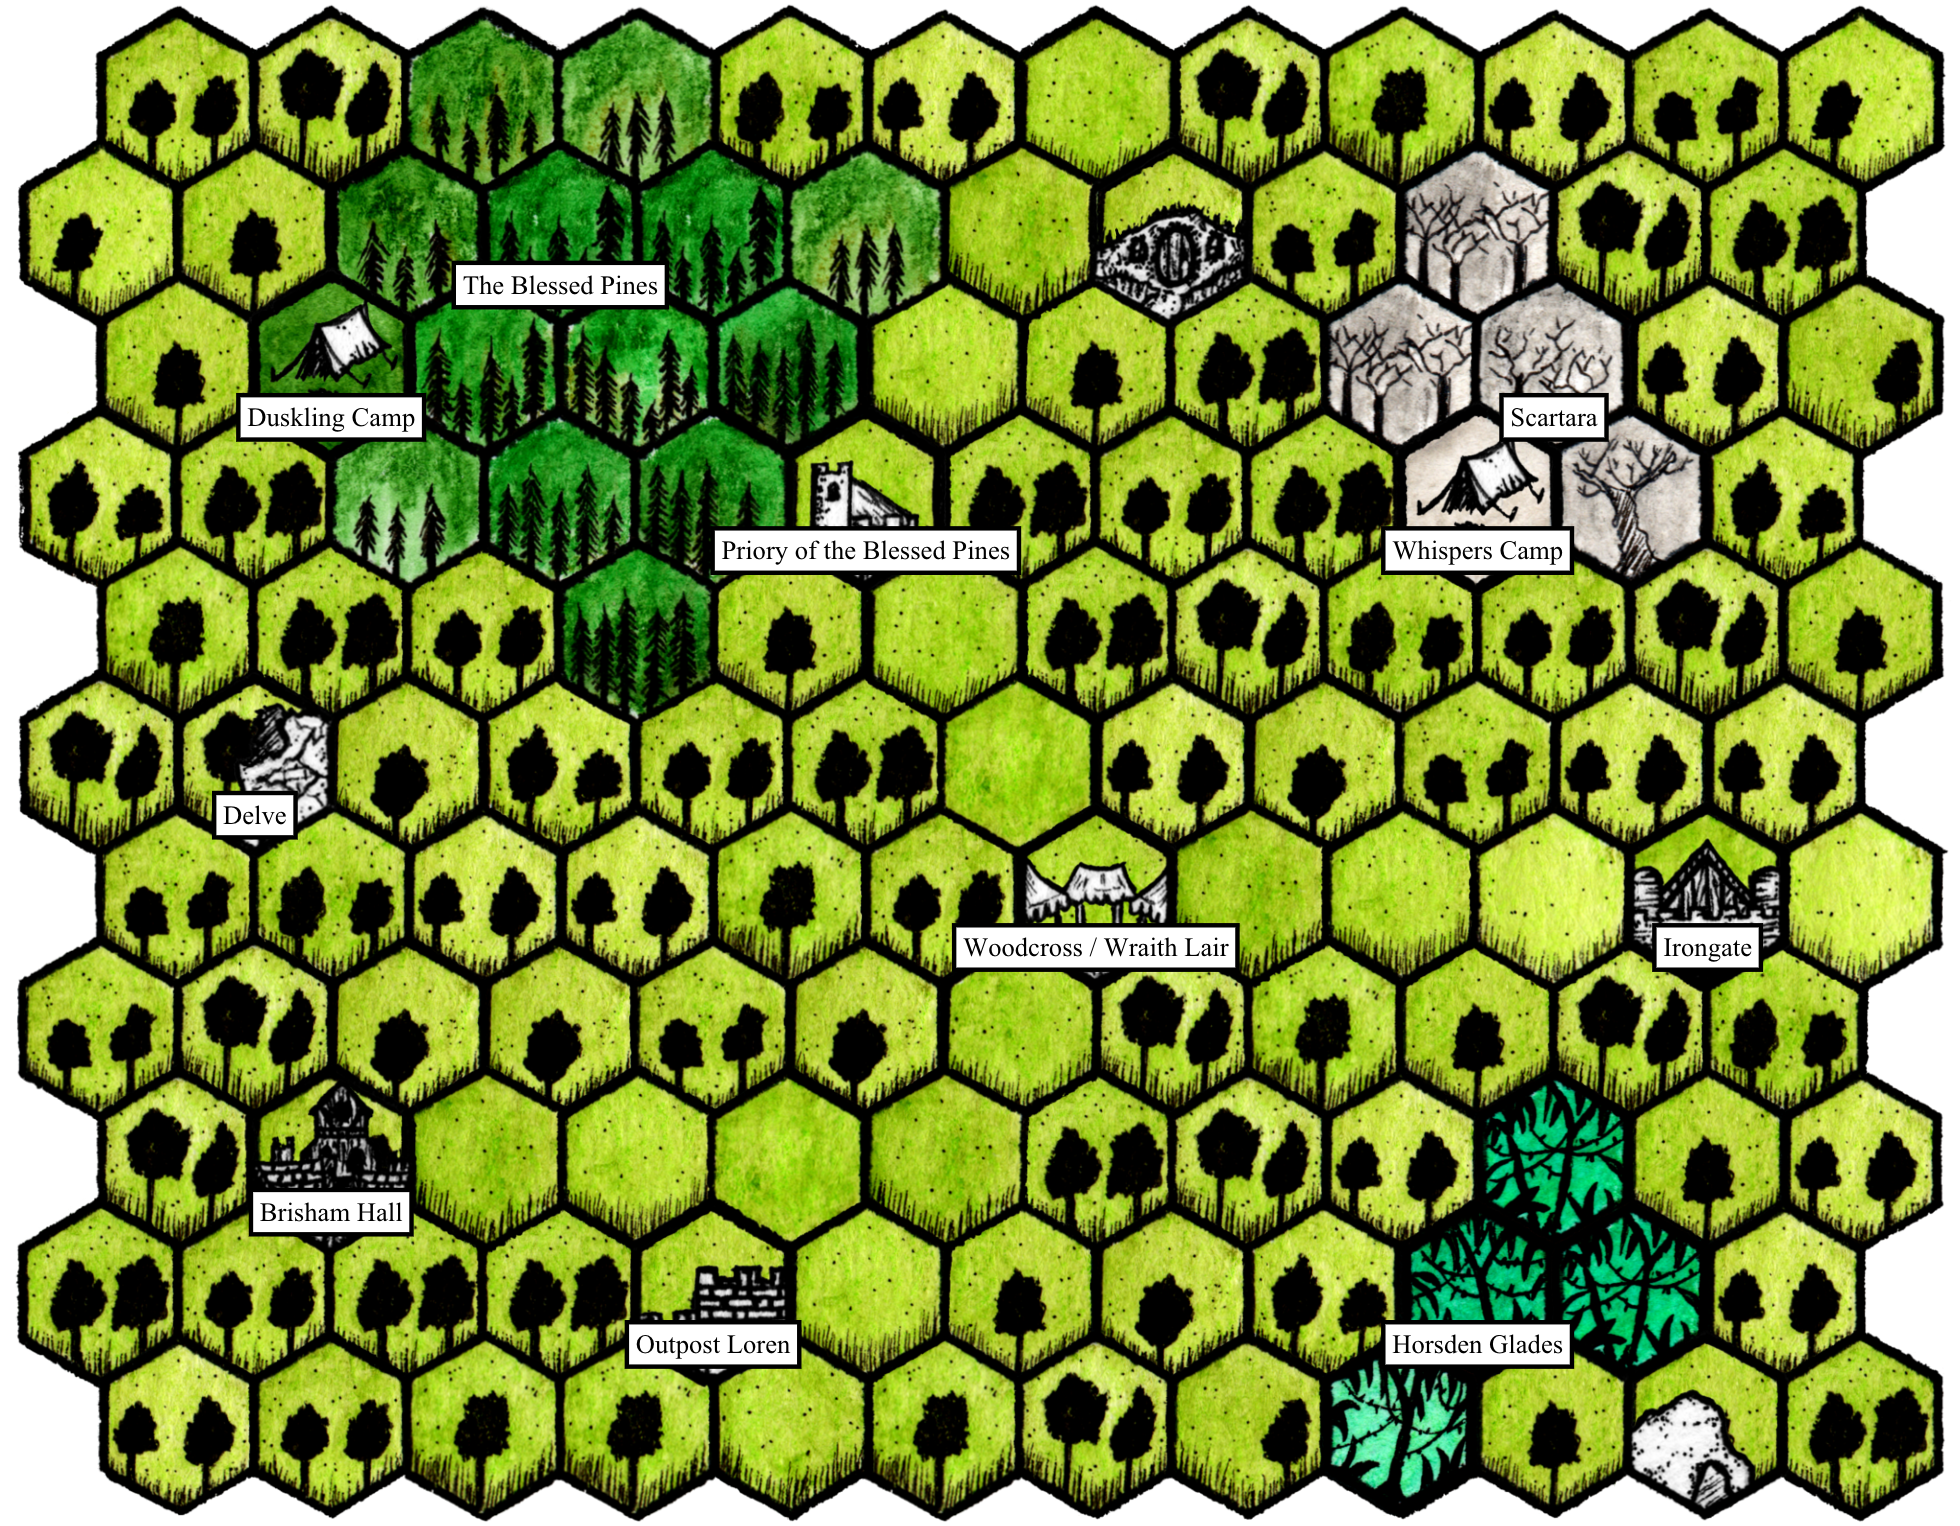
The Silver Hawks are making preparations to leave the Priory of the Blessed Pine and head back to Woodcross. A monk named Gunuert approaches them and lends them aid, specifically attending to Carves-The-Dark’s wounds. The fey-blooded warrior will be able to fight this turn, if indeed the Hawks can find a battle!
While the relationships here in the Priory have grown a bit icey, they still have the support of the monks for returning those supplies. Their upkeep is covered this turn, but otherwise they need to leave before trouble stirs up and they’re in over their collective head.
Instead, they’ll travel back to Woodcross, hand in these maps, and try to find the lair of that wraith that’s tormented that locality.

Adventuring Stage
Gunuert, the monk villager, spends some time with them as they are leaving. He accompanies them partway out of the area, ensuring safe passage against the robber baron’s men. (I get to add him to the warband’s roster as the first “Friend”.)
Once they reach the area, they spend some time scouting for the specific location of the wraith’s lair, going on the information they’d previously been given. Unfortunately, despite finding various indications of the aberration’s presence, they can’t find an entrance. (I should have had one of the followers pick up Scouting last turn when they had the opportunity to add new skills.)
If they can’t find it by the end of the next campaign turn, it will be a waste as some other itinerant hero will come along and clear it instead.
Resolution Stage
For completing their contract with Deegon of mapping Outpost Loren and exploring the (now-cleared) bandit camp, the Silver Hawks receive 1 Adventure Point, putting them up to 6. They are also paid 4 gold marks, so they have 10 total now.
They do not receive any XP or other awards this turn, though.
However, as they settle in at Woodcross, local rangers return with scouting reports. With this information, we get 2 more AP. If we can clear an objective soon, maybe we can continue to drive down threats. (There are other uses of AP that I might also explore when the opportunity arises.)
Wrap-Up
I am not sure how I feel about spending a campaign turn looking for a monster lair. In fact, I’ve been kind of surprised at how rarely I get to an actual battle with this game. That said, on the Nordic Weasel Games Discord server, others have commented that sometimes it goes the other way, so I’ll keep playing and see what happens.

