Brisham Wood - Campaign Turn 3
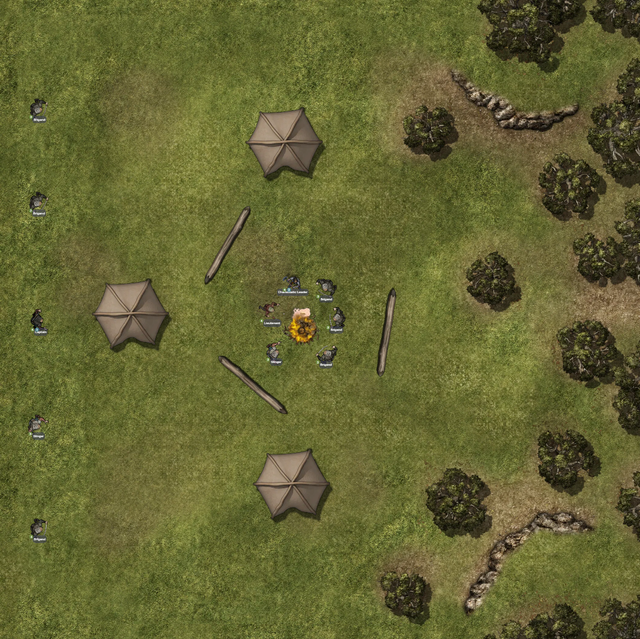
Can I get a battle going this time in 5 Leagues From the Borderlands?
Preparation Stage
The Silver Hawks offset their upkeep costs by helping the town guard. It’s not particularly dangerous, but it does pay their bills while in Woodcross. They spend a night “breaking up drunken brawls and watching for wolves trying to take a chicken”. They also hear of several possible contracts: one via the town crier; one from Deegon, a local elder; and one from a local clergy.
- A local merchant asks them to help her negotiate a deal. Their cut would come to 2 gold marks, but would require travelling to several locations and succeeding on complicated interactions with potential business partners. (This was announced via the town crier.)
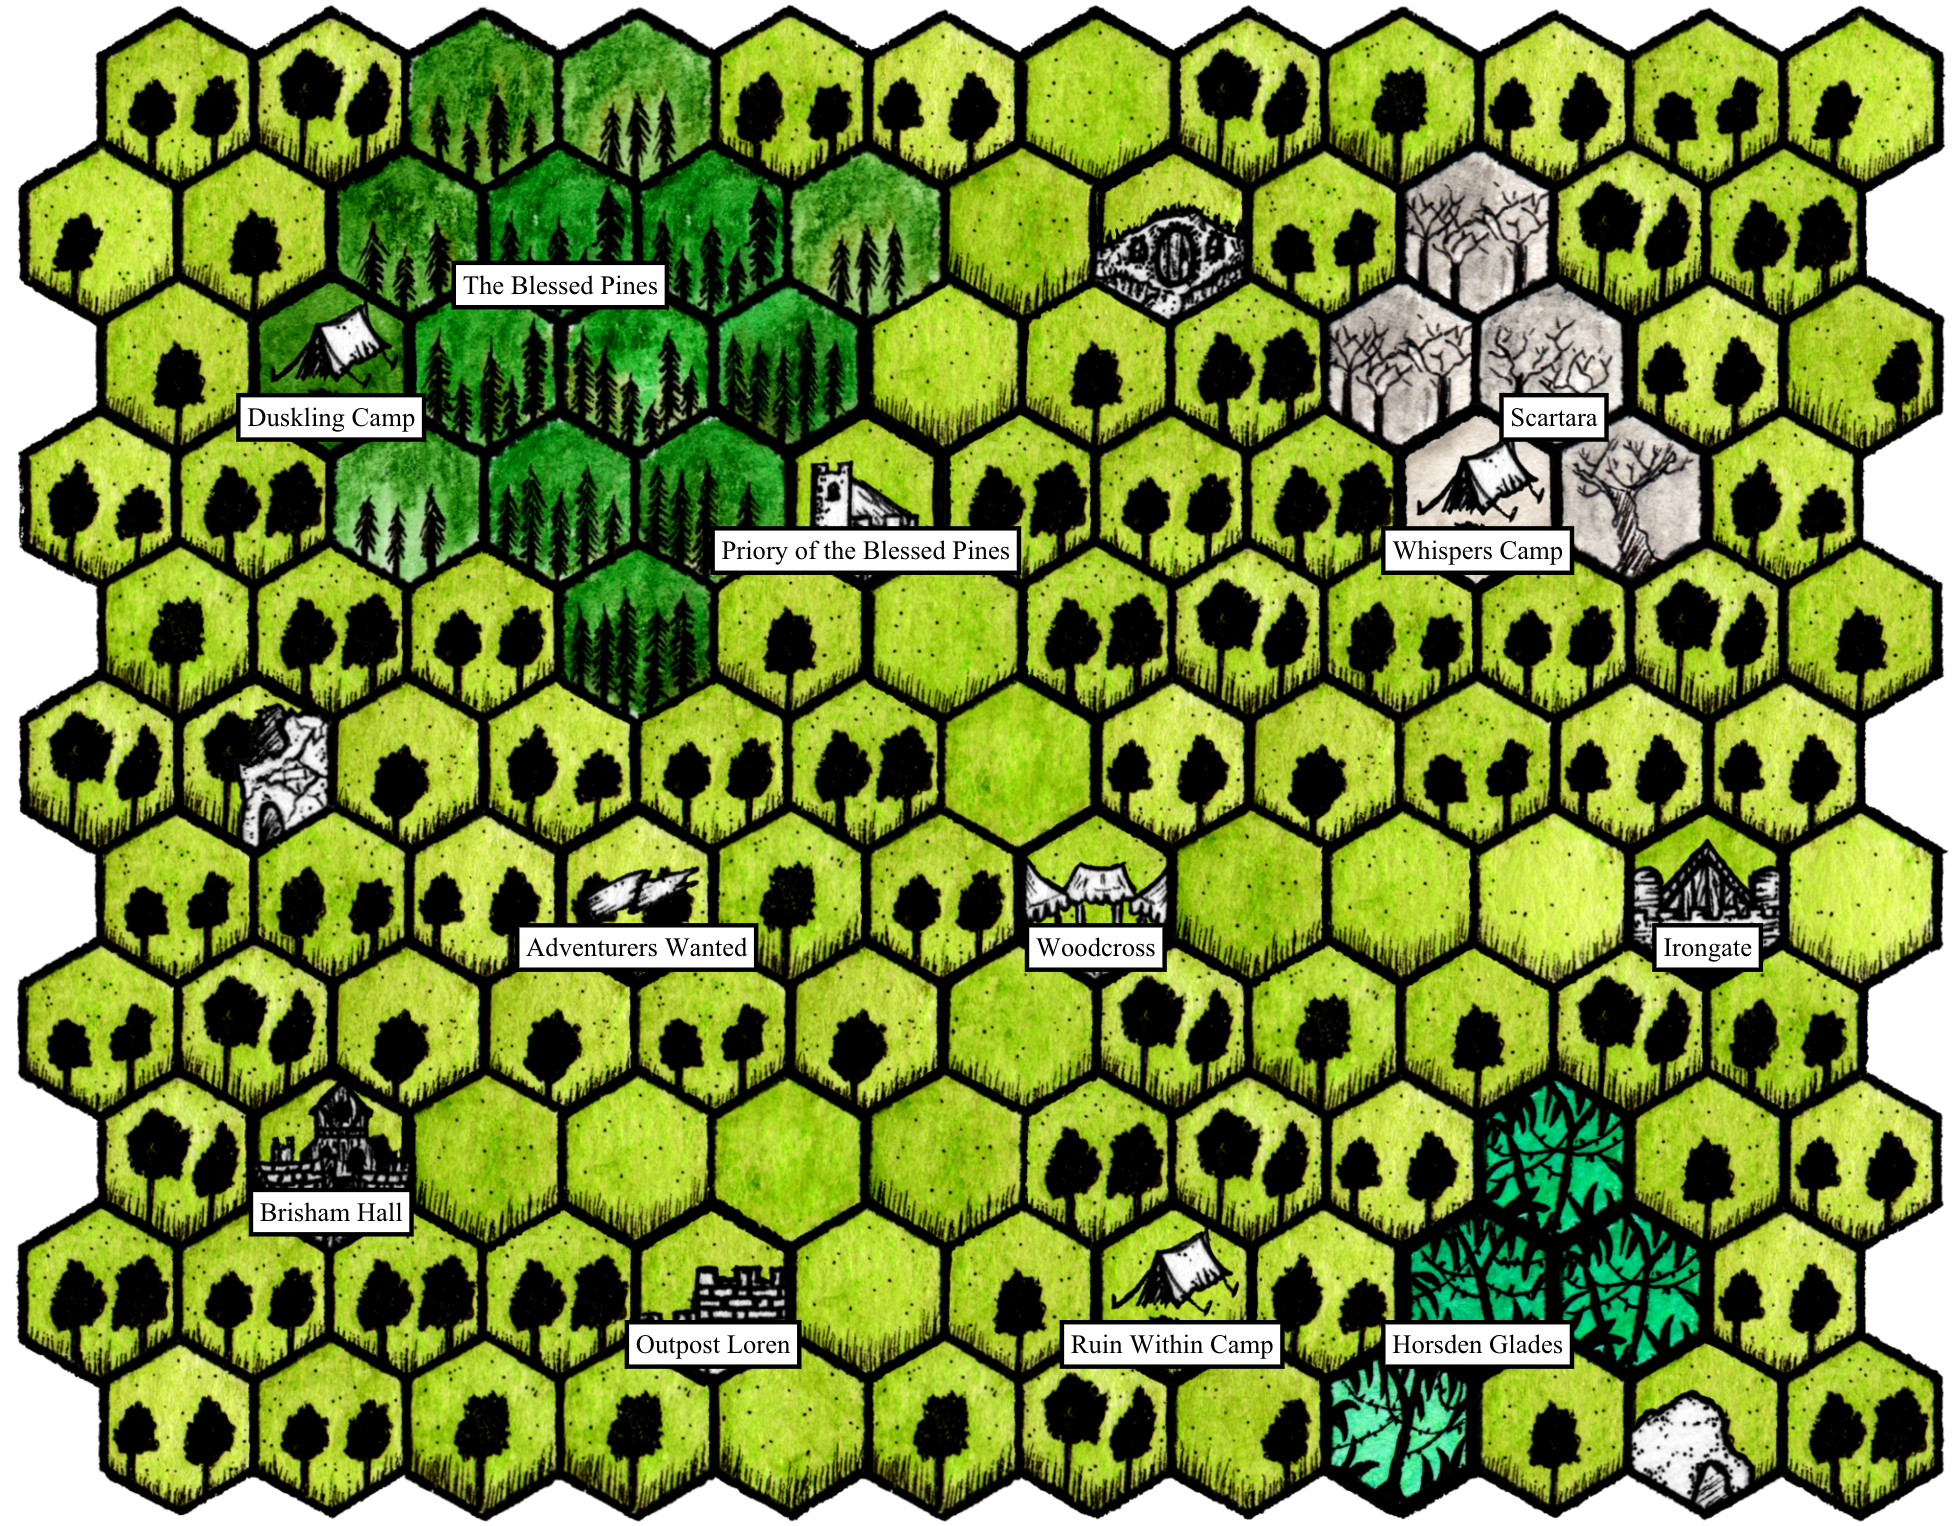
- Deegon would like to update the town’s maps in a couple of places and will pay 2 gold marks. One is an unexplored location (they don’t know what might be there), and the other is the bandit camp in Horsden Glade.
- Local clergy is asking for adventurers to slay a wraith haunting the area around Woodcross, paying 4 Gold Marks (and netting the warband an extra Adventure Point).
All of these would need to be completed within the next 5 Campaign Turns (roughly a week each). Maurice decides that they will take the exploration job, hopefully getting a bit more equipment and experience, then try to slay the wraith. This group is not set up for negotiation. For outfitting, they will add a Set of Maps to the Backpack and head out.
Adventure Stage
The new Unexplored Location lies near the southern path. During their travel, though, they come upon a local priest who begins to berate them loudly along the road, perhaps having seen Chert engage in his daily prayers to the god of another region. Or perhaps Carves-The-Dark unnerves the priest by their cursed presence. Regardless, Maurice urges everyone to pay the fool no mind and continue upon their way.
When they arrive at this first waypoint, they find an isolated community! In fact, an abandoned military outpost has been re-occupied under the name “Outpost Loren”.
There are too few troops here to mount any concerted action, but living behind a sturdy palisade does feel reassuring.
The commander, Colonel Keymon, offers the Silver Hawks a place to stay, and in fact asks for their help with a potential contract. Maurice is interested in maintaining a good reputation here, as soldiers who leave official service are potentially good recruits for the warband in the future. Perhaps even more importantly, having the colonel as a friend could come in handy when facing threats in the region.
Fortunately for the Silver Hawks (but unfortunately for me!) no battle encounter occurs this campaign turn. And the next location, the bandit camp, could be extremely dangerous if they try to raid it at this point. The contract doesn’t require them to fight, however, just to update their maps - so we will see next time how that goes.
Resolution Stage
All the heroes gain a bit of experience, which allows Daisy, Chert, and Carves-The-Dark advancement rolls. Daisy and the fey-blood each improve their combat skills, while Chert’s a bit tougher than before. Of course, without an actual battle, the advancement is fairly limited and they have no opportunities for loot or for their followers to do much.
However, they do hear of someone important in an area slightly north who needs adventurers. Maurice doesn’t know what that might be, and he has the sense that they have enough work right now anyway, so unless something changes, it seems unlikely they’ll get to it in the next couple of campaign turns.
At the end of the turn, the campaign map looks like this:

Wrap-Up
And that’s it! Still no battle; I’m a little disappointed, but the worldbuilding continues. I also appreciate the improvement (albeit incremental) for the warband itself.

