Solo Gothic - Part 5
Things took a pretty significant turn in the last session. I’m going to sit with the current situation first and figure out what’s happening, what the group will be trying to do, and then they’ll get moving.
Situation overview
The Church of Saintly Blood has marked our explorers mystically and will be sending an inquisitor after them for raiding an archive of forbidden knowledge. To be fair, the reason for the raid was to recover some scientific research that the Church had “secured” from the scholar who researched it.
Currently, they’re in a manor house on Loch Riven, not far from Creedhall in south central Krevborna, owned by a member of the Incendiary Guild.
Player Characters
I’m just listing the most relevant information here, like profession, faction, and game statistics. This doesn’t include backstory and secrets.
- Melisanda (she/her), an antiquarian who is a member of the Labyrinth Dredgers
- HD 2 = 15 HP, AC 10, MV 12, #AT 1: Rapier d6, Pistol d6, Dagger d4
- Insight 3, no special items, 3 expeditions
- Cethegus (he/him), a ruffian who is a member of the Labyrinth Dredgers
- HD 2 = 13 HP, AC 12 (mail), MV 6, #AT 1: Halberd d8 (Bulky), Sling d4, Dagger d4
- Insight 4, hypnotic gem, 3 expeditions
- Bertram (he/him), an inventor who is a member of the Incendiary Guild
- HD 2 = 10 HP, AC 10, MV 12, #AT 1: Pistol d6, Ghost Flame d8/d4 (see below)
- Insight 2, Power Pack (Bulky), 2 expeditions
Key NPCs
- Doctor Philomena, the scientist whose research the group recovered in that raid on the Church’s archive.
- Crocon, the devil who serves Malistrad, the Infernal Sage, an archdevil.
- The as-yet-unnamed Church inquisitor, who will be coming after the group.
- Morwenna, the lodge master for the Labyrinth Dredgers in Chancel (the seat of the Church).
- Ser Katya, a Knight of Lilith and servant of the vampiric nobility in Lamashtu who is actively opposing the Dredgers.
- Ser Grisselda, another Knight of Lilith who was embarrassed and defeated by the group at a Grail Tomb.
- The Grey Wanderer, a mysterious necromancer affiliated with Lamashtu in some way.
Factions
The Labyrinth Dredgers have at least some alignment with the Church, but it’s a tense one. Melisanda and Cethegus therefore have some support from their faction, but it’ll stay quiet for now. That might be something interesting to bring to the forefront when we get close to the end.
Bertram’s faction, the Incendiary Guild, has no such illusions about trying to maintain some amount of peace with the Church. In fact, they want to overthrow the Church, so there’s a good bit of support. At the moment, that comes in the form of sponsorship from Doctor Philomena.
The Knights of Lilith, as previously noted, serve Lamashtu and in particular the Countess Alcesta von Karlok. In this particular context, they seek knowledge to link the ancient Lilitu to the vampires who rule Lamashtu. Of course, their primary opponent is the Church, but that doesn’t make them friends with the Dredgers or the Guild.
And of course, looming above everything, the Church of Saintly Blood is perhaps the most powerful faction in the region. They have wealth, magical power, the broad support of much of the populace, and sub factions that themselves should be taken seriously, as will become apparent soon.
Goals
- Escape whatever vengeance the Church has in mind for them.
- Complete the bargain with Crocon to retrieve a tome from the Church’s main archives in Chancel.
- Acquire ancient technology from the Lilituan Grail Tombs before the Knights of Lilith can do so.
Restarting the narrative
Creedhall may not be a Church bastion but there are enough people there that it’s dangerous for the group to stay. They’re currently on the north shore of Loch Riven and will need to get moving so as not to endanger Dr Philomena.
That said, they need some equipment before they leave. She gives Bertram a sort of flame gun that is powered by his backpack. It is specifically designed for fighting undead monsters, including vampires, ghosts, and the like. It does d8 damage against enemies that are immune to magical damage, and d4 against everyone else. There are likely some potential drawbacks, particularly with this power pack that Bertram carries around.
Inquisitor
Melisanda goes for some fresh air, only to find Crocon, the devil, waiting for her to chat. She’s come to check on the progress of their bargain and is “disappointed” to learn that, instead of retrieving the tome, they’ve got the attention of the Church.
But there’s an opportunity for her diabolical mind. Instead of the tome, they can fulfill their contract by entrapping the inquisitor and allowing Crocon to take him for her own purposes. This is a darker deed than simply stealing a book, yes, but it’s also less dangerous given their current situation. Melisanda is somewhat sick at the thought, but if they try to go to Chancel, they’ll almost certainly be caught and thrown into whatever dungeon the Church has underneath the city. Once Crocon has the inquisitor, she can handle the Church’s bounty.
I’m going to roll dice to determine how far away the inquisitor is; the lower the roll, the closer he’s come to tracking them down. He’s very close, and may have even crossed the River Krev.
Melisanda goes back to her group and discusses the amended agreement. Cethegus shrugs; this doesn’t bother him (although something else seems to be). Bertram is worried, not morally, but about whether this will actually work. Will the devil truly hold her end of the bargain? Melisanda is confident, because devils who renege are known to be punished by the archdevils they serve. Lying manipulators they may be, but a bargain must be upheld.
It’s time to flesh out some of the details of this Inquisitor.
- Name: Brother Barnabus
- Appearance: Hooded cloak; riding boots; clerical vestments; smokes a pipe when resting.
- Traits: Obsessed with witchcraft; prudish.
- Stat Block: HD 6 = 20 HP, AC 12, MV 6, #AT 2, Heavy Staff 1d8; all level 1-3 Cleric spells, total of 6/day.
For my own reference, I’ll list the spells he has available from the SotU Omnibus (by B3L7):
- 1st: Cure Light Wounds; Detect Evil; Detect Magic; Light; Protection From Evil
- 2nd: Bless; Find Traps; Hold Person
- 3rd: Continual Light; Cure Disease; Remove Curse
Detect Evil will not work in this case; that will be reserved for infernals, the undead, etc. If he enters the manor, Find Traps might become relevant, but I suspect Hold Person and perhaps Cure Light Wounds may become more relevant.
But our group is not going to face him in a straight fight. No, they’re going to use the environment to their advantage. They’ll watch him approach, then attack him when they think they have enough of an advantage. As noted, however, they don’t want to kill him because that wouldn’t suit Crocon’s needs. She wants him alive but restrained.
So when he gets close, they watch him from the shadows inside the house. He stops just outside of pistol range, dismounts, and prays (casting Bless and giving himself a +1 to hit and morale, though I decide that morale is not relevant here). He then stands, grasps his staff, and walks up to the house. He calls out, “I know you are here. Come with me and face the justice of the Saints.”
In response, Cethegus fires a shot. Brother Barnabus is just close enough that Cethegus won’t get disadvantage; the shot hits for 2 damage. Barnabus begins to run towards the house, dodging as he goes; Melisanda will have disadvantage on her shot. She still manages to get him for 3 damage, But at this point he’s at the door and staves it in. “Do not resist the justice of the Saints!” he shouts, and he charges in.
Bertram is waiting in ambush and shoots as well, but misses. Cethegus leaps over a balustrade with his halberd, hitting the cleric for 7 damage. That’s a total of 12 damage, a bit more than half of his total. Melisanda throws a rope to Bertram and they try to flank Barnabas in order to trip him; the cleric will need to save or fall prone. He succeeds and instead whirls his staff with fury; Cethegus dodges and sweeps his halberd, hoping to drive the cleric back at least if he doesn’t do damage. He does 4 damage, and Barnabas is indeed in danger. Melisanda shouts for him to stand down; I’ll give him a reaction roll, but taking the lowest 2 of 3d6. The result is “hesitation or confusion,” as he doesn’t understand why they’d do this. Bertram will give him a chance and holds back.
Brother Barnabas, in the center of a triangle of his three marks but worn down, shifts his eyes left and right. Sweat pours down his craggy face. “You have me at a disadvantage,” he says. “But the Holy Blood will not be denied.”
Cethegus growls but stands still for a moment while Melisanda speaks. “We have no quarrel with you; your mission is a false one.”
This doesn’t impress him. “You have stolen from the Church and endangered the faithful. That is all the quarrel I need. I serve the Church of Saintly Blood.”
Cethegus growls and charges with his halberd, but Barnabas parries with his staff and then brings the end around, thunking the ruffian behind the head with a critical hit for 8 damage. Melisanda and Bertram both rush in with rope, but Barnabas is too quick and they miss. Cethegus hits the cleric, however, dropping him so that he falls on his back and the other two restrain the cleric quickly.
Barnabas closes his eyes for a moment, calming himself. Suddenly he gasps and looks at them. “Treachery and devilry!” he shouts. “There is something else here!”
Crocon walks in from a side room, a wry smile playing upon her lips. “You have all done well and saved your souls,” she says. “Now, I will take the inquisitor. We shall speak again, I am sure.”
Grail Tombs
I’m going to fast-forward here a little bit. The group is moving on to a Grail Tomb that their infernal patron has described to them. Melisanda and Bertram feel a bit uneasy about the choices they’ve made, but Cethegus seems satisfied.
Deciding on an approach
As I think about the concept of the Grail Tombs and the Lilitu in Krevborna, a different approach has started to take shape in my mind. These ancient catacombs are not simple tombs in the ground, but are “labyrinthine dungeons and burial vaults” that include “warped time [and] impossibly convoluted architecture.” They should also contain runes and sigils that provoke Insight rolls (but also grant it).
Several options come to my mind here.
- Random dungeons using Donjon’s Random Dungeon Generator (setting the corridors to “labyrinthine” and the room layout to “dense”) involve the least effort for me. They may not fully match the description, however.
- Maps from Dyson Logos, whether literal mazes or effectively so, or even non-Euclidean layouts. These still require stocking, however. Some of this would need to happen in advance, although judicious use of random tables could help.
- Depth crawls represent this sort of space well. No layout work is required but several tables need to be prepared in advance.
- Use the Perilous Wilds (PW) approach again, but ensure lots of unexpected links between areas. Customization of the Dangers and Discoveries tables would help a lot as well. This approach has a lot in common with depth crawls, but I think it’s a little more flexible and a lot of the work is done for me already.
After looking at several of the options, I’ve decided to go back to the PW approach. It fits the architectural description and requires very little advance work, or at least not much more than any of the other options.
Customization
The Dungeon Overview tables aren’t necessarily relevant to this particular use case, as I have a sense of those things going in. The Area Dressing table is probably fine too.
For the Discovery table, however, I want to make things a little less vanilla. There are two subsections, Features and Finds. The Features seem okay; if puzzle comes up, I will likely interpret that as something mind-bending and could even lead to an Insight roll. Thinking about it more, any of them can have that sort of twist.
The Find subsection needs more work. Right now, it includes:
- trinkets/clothing
- supplies/tools/gear
- light source/fuel/ammo
- key/clue/map
- weapons/armor
- poison/antidote/potion
- adventurer/captive
- books/scrolls
- coins/gems/jewelry
Plus a few extra options to modify those for magic and such. I’m going to change these to fit my vision of the Grail Tombs. Specifically, I’m replacing “supplies/tools/gear” with “advanced technological device” and “light source/fuel/ammo” with “artwork.” Other options will be interpreted slightly differently as well. For example, “adventurer/captive” will be “rival explorers” and “books/scrolls” will be “information storage.”
- trinkets (just because they’re fun and can also communicate lore)
- key/clue/map (could add to the rolls for new areas, increasing chances of discoveries)
- weapons/armor (mostly in case we get magic modifiers)
- potion (do I need another table for the type?)
- rival explorers (likely Knights of Lilith)
- information storage (something more interesting than books and scrolls; holographic crystals?)
- gems/jewelry (good for conveying lore)
- advanced technological device (if magic, like a wondrous item)
- artwork (not statues, but paintings and such)
Now I’ll look at the Dangers. There are two subtables here as well, Traps and Creatures. I think the Traps are fine as they are, but the Creature table is intentionally quite simple. There are only three options:
- creature leader/lord (accompanied by appropriate minions)
- creature
- beast vermin (rats, bats, etc.)
The creatures are then specified in a whole different table, and that’s what I’m going to throw out. We’re not running into regular beasts down here, for example, and the monsters don’t necessarily line up.
So instead, I’m going to continue to use the “Encounter Table for Grail Tombs” and refer to The Monster Overhaul when stats are needed.
Finally, rather than a trap on 1-4 and a creature on 5-12, I’m going to have traps on 1-6 and creatures on 7-12. This will make the traps more common, which makes sense as this place shouldn’t be crawling with monsters.
I expect I’ll run into some weird corner cases that I didn’t expect, but of course I’ll deal with those as they arise. That’s part of the fun, right?
It’s also worth asking what specific goal the explorers have. Their previous expeditions involved rescue attempts and relic recovery, taken pretty much directly from the “Adventures in the Grail Tombs” list in Krevborna. This time, though, I’m looking at the Quests listed for the Labyrinth Dredgers faction. The first one says, “Unseal an ancient vault and map its strange geography.” So they need to produce a map, even if it’s really just a node diagram. I’m pretty confident that this particular delve is not sponsored by the Church, at least not specifically so. This group is more likely to use the information and treasures they discover against the Lamashtu vampires and their minions, such as the Knights of Lilith.
Building the foundation
Turning back to the actual procedure, we need to give it a size, themes, and areas. As previously noted, we don’t need to create the overview; that’s effectively the same as the previous Grail Tomb. I do want to think about the location, though. The previous one was underneath the monastery of St Othric, and the one before that was nestled in the Nachtmahr Mountains.
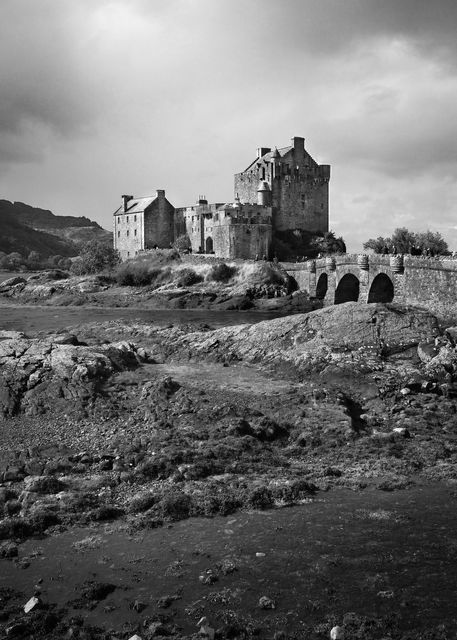
I decide this one is in the Silent Forest:
Fog-shrouded burial grounds within the vast and disorienting Silent Forest are haunted by shades and serpentine monstrosities. The Silent Forest suffers from a horrible curse; when night falls on the Silent Forest, the malign creatures within its woods grow stronger, faster, and more ravenous.
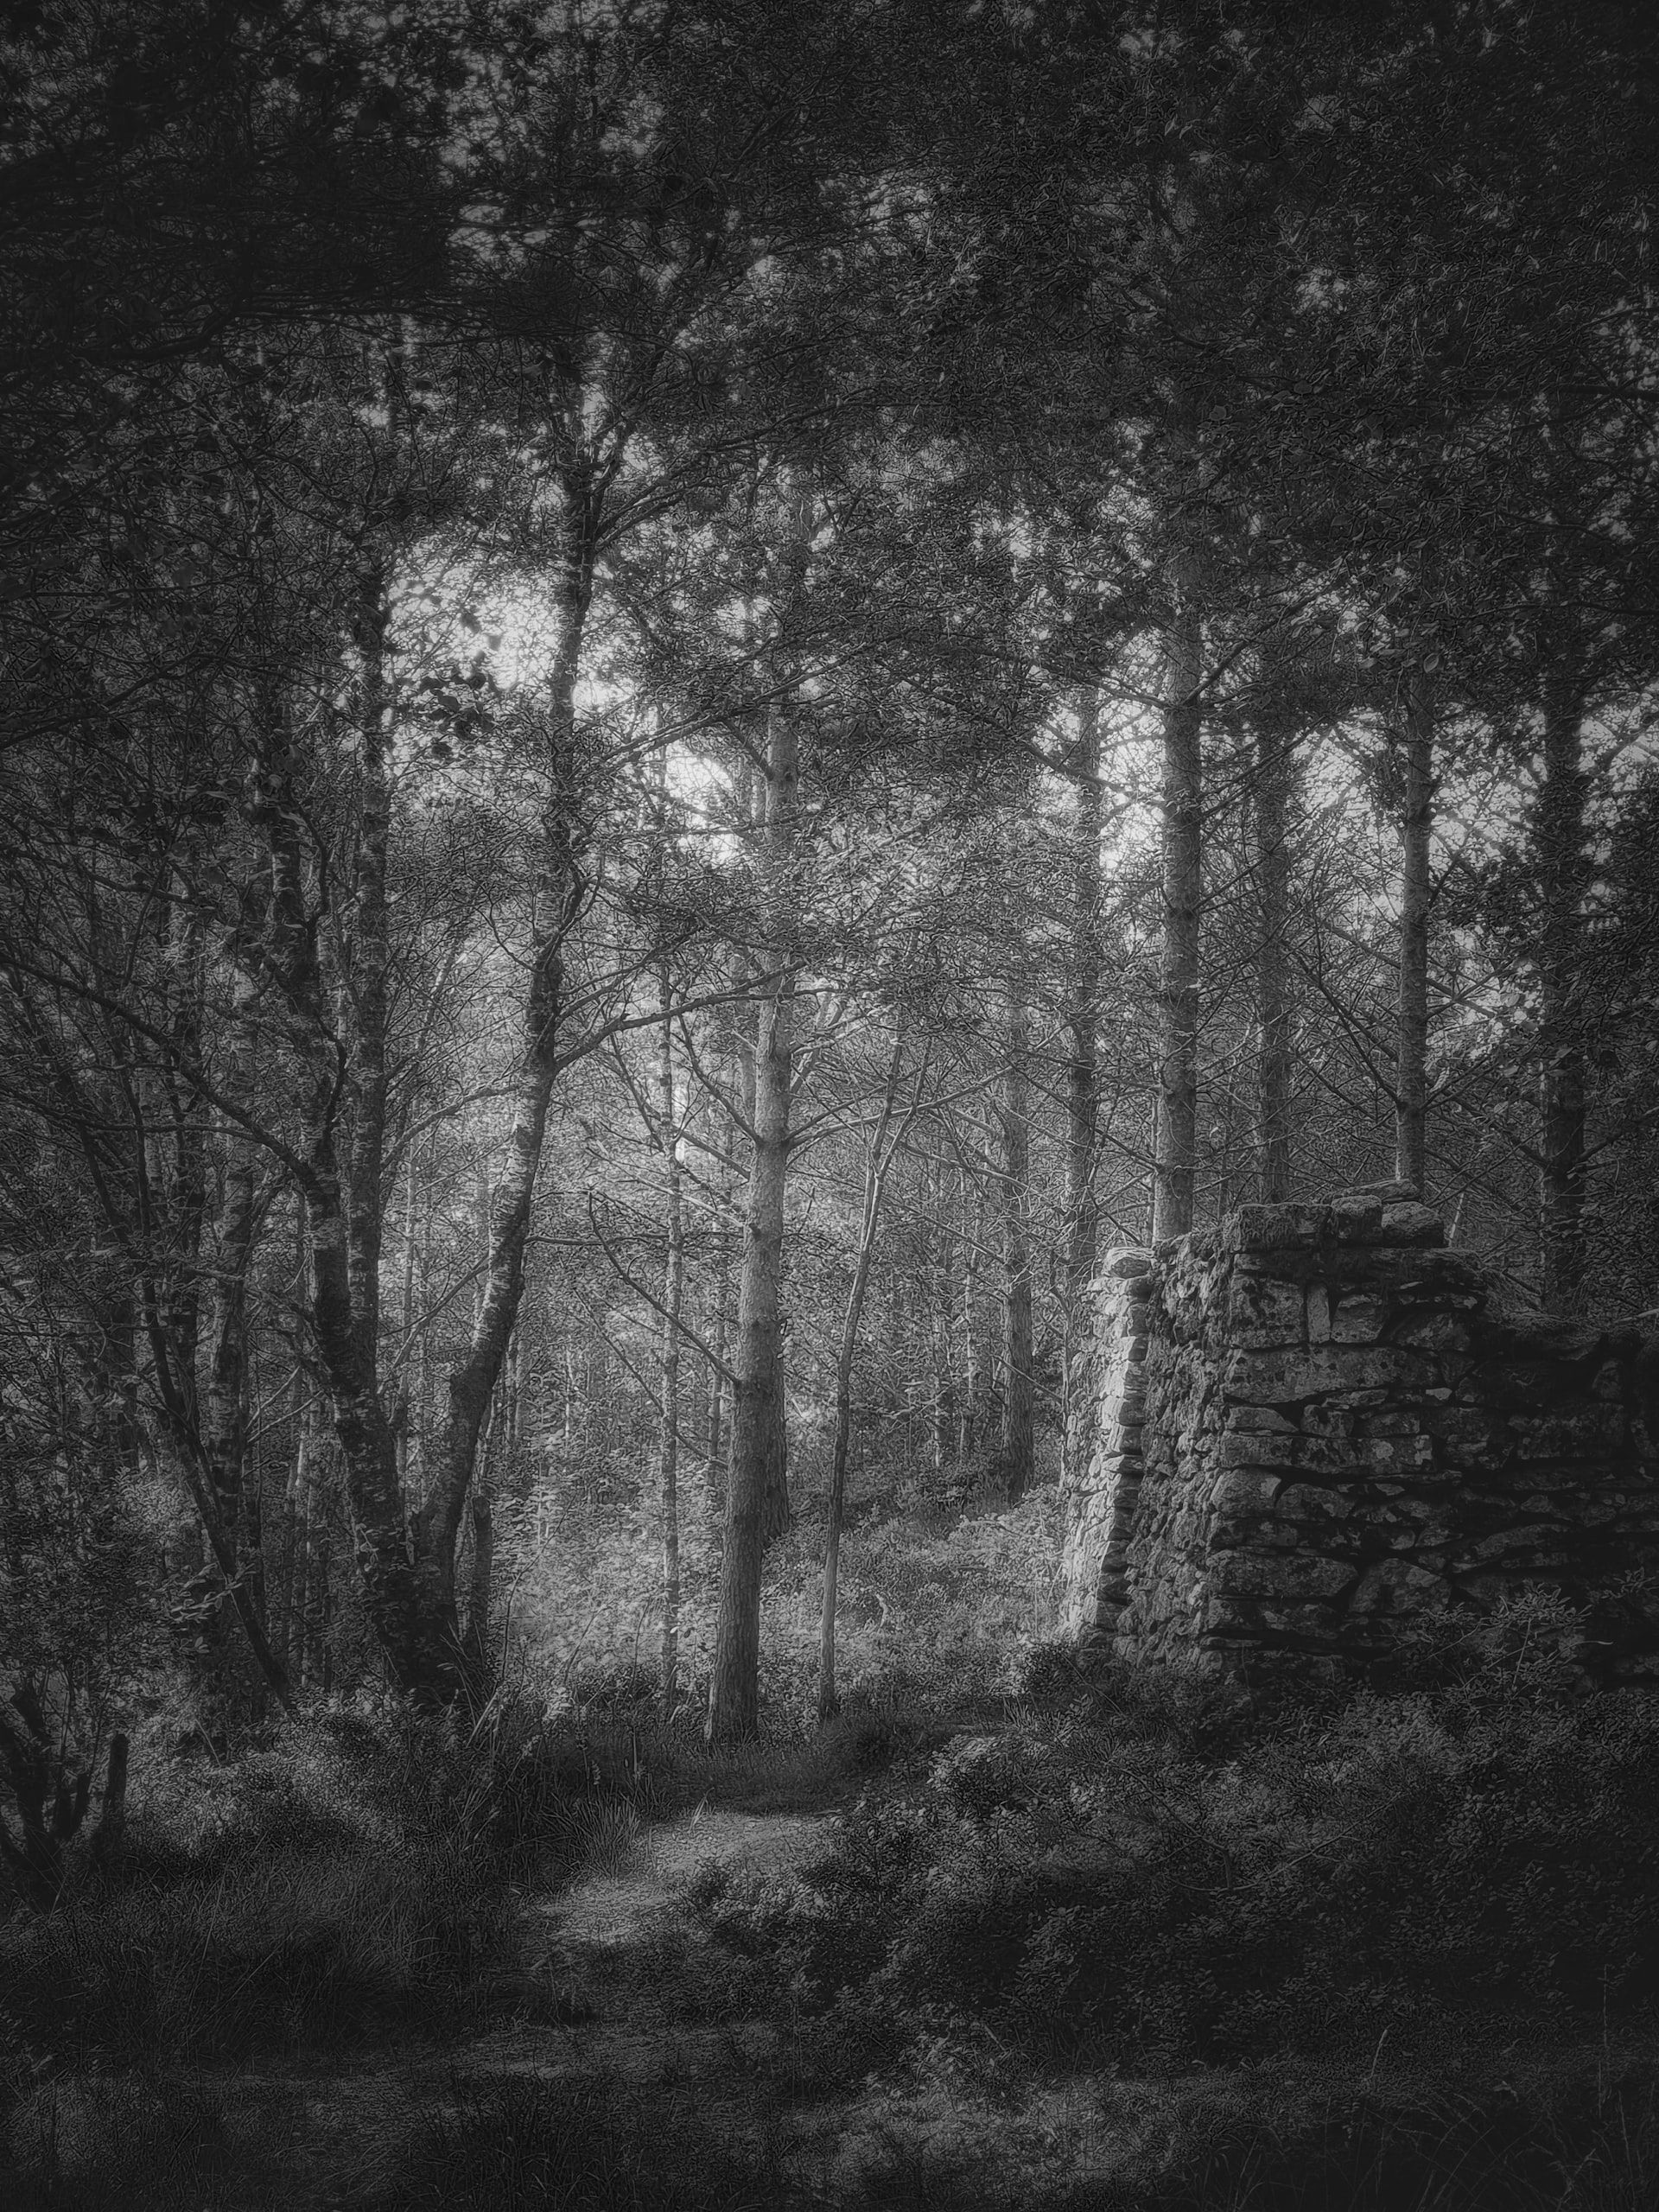 Photo by Martin Groh on Unsplash
At some point I might run some more adventures here in the Silent Forest, but not on this expedition.
- Name: The Sleeping Vault
- Size: Medium (1d8 + 7 = 14 areas)
- Themes: Cryptic Knowledge; Advanced Technology; Darkness / Death
- Common Areas:
- Antechambers (entrance or otherwise)
- Crypts / Burial Chambers
- Machine Rooms
- Corridors
- Shrines / Altars
- Unique Areas:
- Library of Shadows
- Inner Sanctum
- Chamber of the Damned
That should be enough preparation for this expedition.
Entering the Vault
Deep within the Silent Forest, beyond the last village, lies the entrance to the Sleeping Vault. The entrance is sealed: stone and masonry under an impossibly ancient tree whose roots have pushed into the vault itself.
To unseal the vault, the explorers will need to study the runes and perhaps call upon the ancient magic of the Lilitu. This is going to require them to roll Insight, meaning they need to roll their Insight rating or lower on a d6. If they fail, they may still enter but they will suffer an additional level of Insight (which is getting dangerous for Cethegus). Melisanda, as an antiquarian, will attempt it alone first, and she fails the roll. Her mind cannot contain the visions and knowledge that the runes push into it, and she has to pause for a moment after unsealing the vault.
Chamber 1
The first chamber is a large antechamber with 1d4 = 4 Dangers and 1 Discovery. Water has seeped in from the forest floor above. Dangers include:
- Trap: alarm
- Trap: based on element (death / darkness)
- Creature: “skittering things, tails full of poison, moaning, weeping”
- Trap: ambush
I’ll interpret that final danger as indicating the reaction of the “skittering things” rather than give them an initial reaction roll.
The Discovery is a well / pool / fountain. I decide this is a pool where the water seeping in has collected. Architects building a structure to last this long might have known that eventually it would happen, and so constructed the place to channel water into this pool. I also imagine the darkness trap connected to the pool, like a roiling cloud of darkness hovering above it.
The alarm trap is not magical, but rather a simple alarm system that will alert the creatures in the vault to the explorers’ presence. I decide that Cethegus is in the lead; does he spot the alarm trap? He does, and before the group proceeds, he studies it closely. There’s a pressure plate just where they were all about to step. The ruffian tries to disarm it and succeeds just in time to see the ambush.
What are these skittering things? There are 1d4 = 2 of them, and I’m going to use the Giant Spider stat block from The Monster Overhaul. They are the “crafting” variant, with human hands and pale human-like faces.
- HD 4 = 7, 11 HP, AC 11, MV 9, #AT 1, Bite 2d4, Morale 10
Because this is an ambush, I’ll give them the first go on initiative. (I’m going to start using side initiative from here on out.)
The first skitterer has dense hairs, thick legs, and enormous fangs. It tries to bite Cethegus but he’s too quick. The second skitterer (orange, black, and white, with a compact body) snaps at him as well and gets him for the full 8 damage, leaving him at 5. He swings his halberd around at this compact creature (which has less HP) and hits it for 4 HP, not enough to kill it. Melisanda calmly shoots her pistol at the thing but misses; Bertram finishes it off.
The hairy skitterer, though, has a chance to drop Cethegus here, and does so, leaving him at 0 HP (I don’t really include negative HP). The explorer will have a chance to save if his group survives the encounter. Melisanda in fact fires her pistol again, hitting it for just 2 damage. Bertram’s pistol jams (critical fumble) and he’ll need to spend a round fixing it or grab some other weapon.
That horrible human face stares at Melisanda, then bites her for just 2 damage. She points her pistol and fires, but it’s moving too quickly and the pain distracts her enough that she misses. Bertram picks up Cethegus’ halberd and swings it at the skitterer. Unfortunately, he’s unaccustomed to the weapon and cannot connect with the monster.
Said monster does not like how this ambush is going. I should have rolled a morale check earlier; I do so now, and it continues to attack. It bites Melisanda for 6 damage, but she’s still fighting. This time she sticks the pistol barrel against the creature’s body and fires, dealing 5 damage. Bertram finally connects with the halberd, dealing 4 damage. The skitterer is dead, but it’s not over yet.
Cethegus lays on the ground, motionless. He must make a save or die, but his wounds are too much for him. He’s dying, and nothing can stop that. But he does pull Melisanda’s face next to his and whispers, “I’ll see them in hell,” before he draws his last breath.
Melisanda mourns for her fellow Dredger and comrade in arms. She assumes he means the skittering things, though in fact he’s referring to the fact that he killed his parents long ago. She and Bertram together pull his body back out of the vault and bury him in the forest.
As they each stand over the makeshift grave, silent in their thoughts, a shadow moves behind them in the forest.
Wrap-up
This expedition isn’t done, but that feels like a good point to stop this session (both in terms of the story and the time of night as I write this). Much of this consisted of prep work, but prep is play - especially in solo gaming.
I enjoyed visualizing the fight with the inquisitor, and I might even find a way to work him into the narrative again in the future. I didn’t quite expect Cethegus to go down so quickly, but that’s what happens when you stand in front of a couple of 4 HD creatures.
Next time, we’ll deal with that last moment in the forest and possibly return down into the vault.