Ironsworn Delve - Part 11
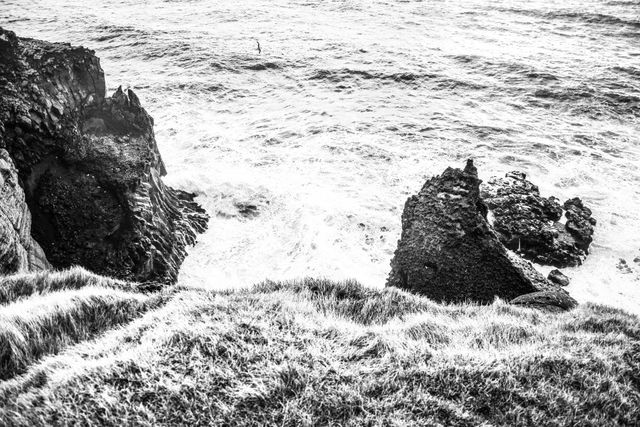
Amara stands outside the ravine that contains the entrance to the Cavern of Torment. She’s seen a gaunt here, the mounts commonly used by elves, complete with all the gear that would indicate an elf is present. So that’s where we start this (hopefully) final session.
Confronting the Firstborn
She calls out, stating her peaceful intentions and humbly requesting an audience. Secure an Advantage (+Heart) => weak hit, the elf appears and glares, but holds back. Amara then explains the details of her mission to destroy the demonic horror under the earth and requests assistance or at least passage: Compel (+Heart) => miss, the elf refuses and in fact states that Amara must leave immediately and abandon this mission. Paying the Price in this case in means that she is highly discouraged for a moment and thus she’ll Endure Stress with a strong hit. She regains some Momentum and gathers her strength. “I will do what I must.”
To ascertain the elf’s response, we Ask the Oracle and get Escalate Problem. They themselves have fallen to the demon’s corruption, and thus we’ll Enter the Fray against a Dangerous foe with a miss. This Firstborn is blindingly fast and rushes toward Amara, Clash => strong hit with match. Amara deals 2 Harm and retains the initiative by falling back to cover in a tree. The Opportunity here is makeshift vengeance, indicating that the elf is emotionally off-balance. Perhaps this will be useful later, but for now Amara will take aim to Secure an Advantage => strong hit with a match, and the opportunity is Hold Destiny. An elder beast (Guardian) approaches. Amara fires her arrow, Strike => weak hit, dealing damage but the elf knows where she is now and stalks toward her.
Amara Faces Danger (+Heart) and tells the Firstborn, “whatever happens with us, this land will defend itself.” But we roll a miss so she must Endure Harm => weak hit and presses on.
Can she convince the Guardian to assist? Her intent is only to purge the demonic harm from the earth. Compel (+Heart) => weak hit, she must first prove her strength by surviving this onslaught. So she Turns the Tide and grabs the initiative by insisting that the elf surrender. Compel => strong hit, they accede and thus we End the Fight with a weak hit. The elf withdraws because of their wounds, but they will not forget and she is marked for vengeance.
In response, the elder wolf will lend its strength to Amara (granting +1 on Face Danger rolls when using the Horn of Garran in this delve).
Entering the Cavern
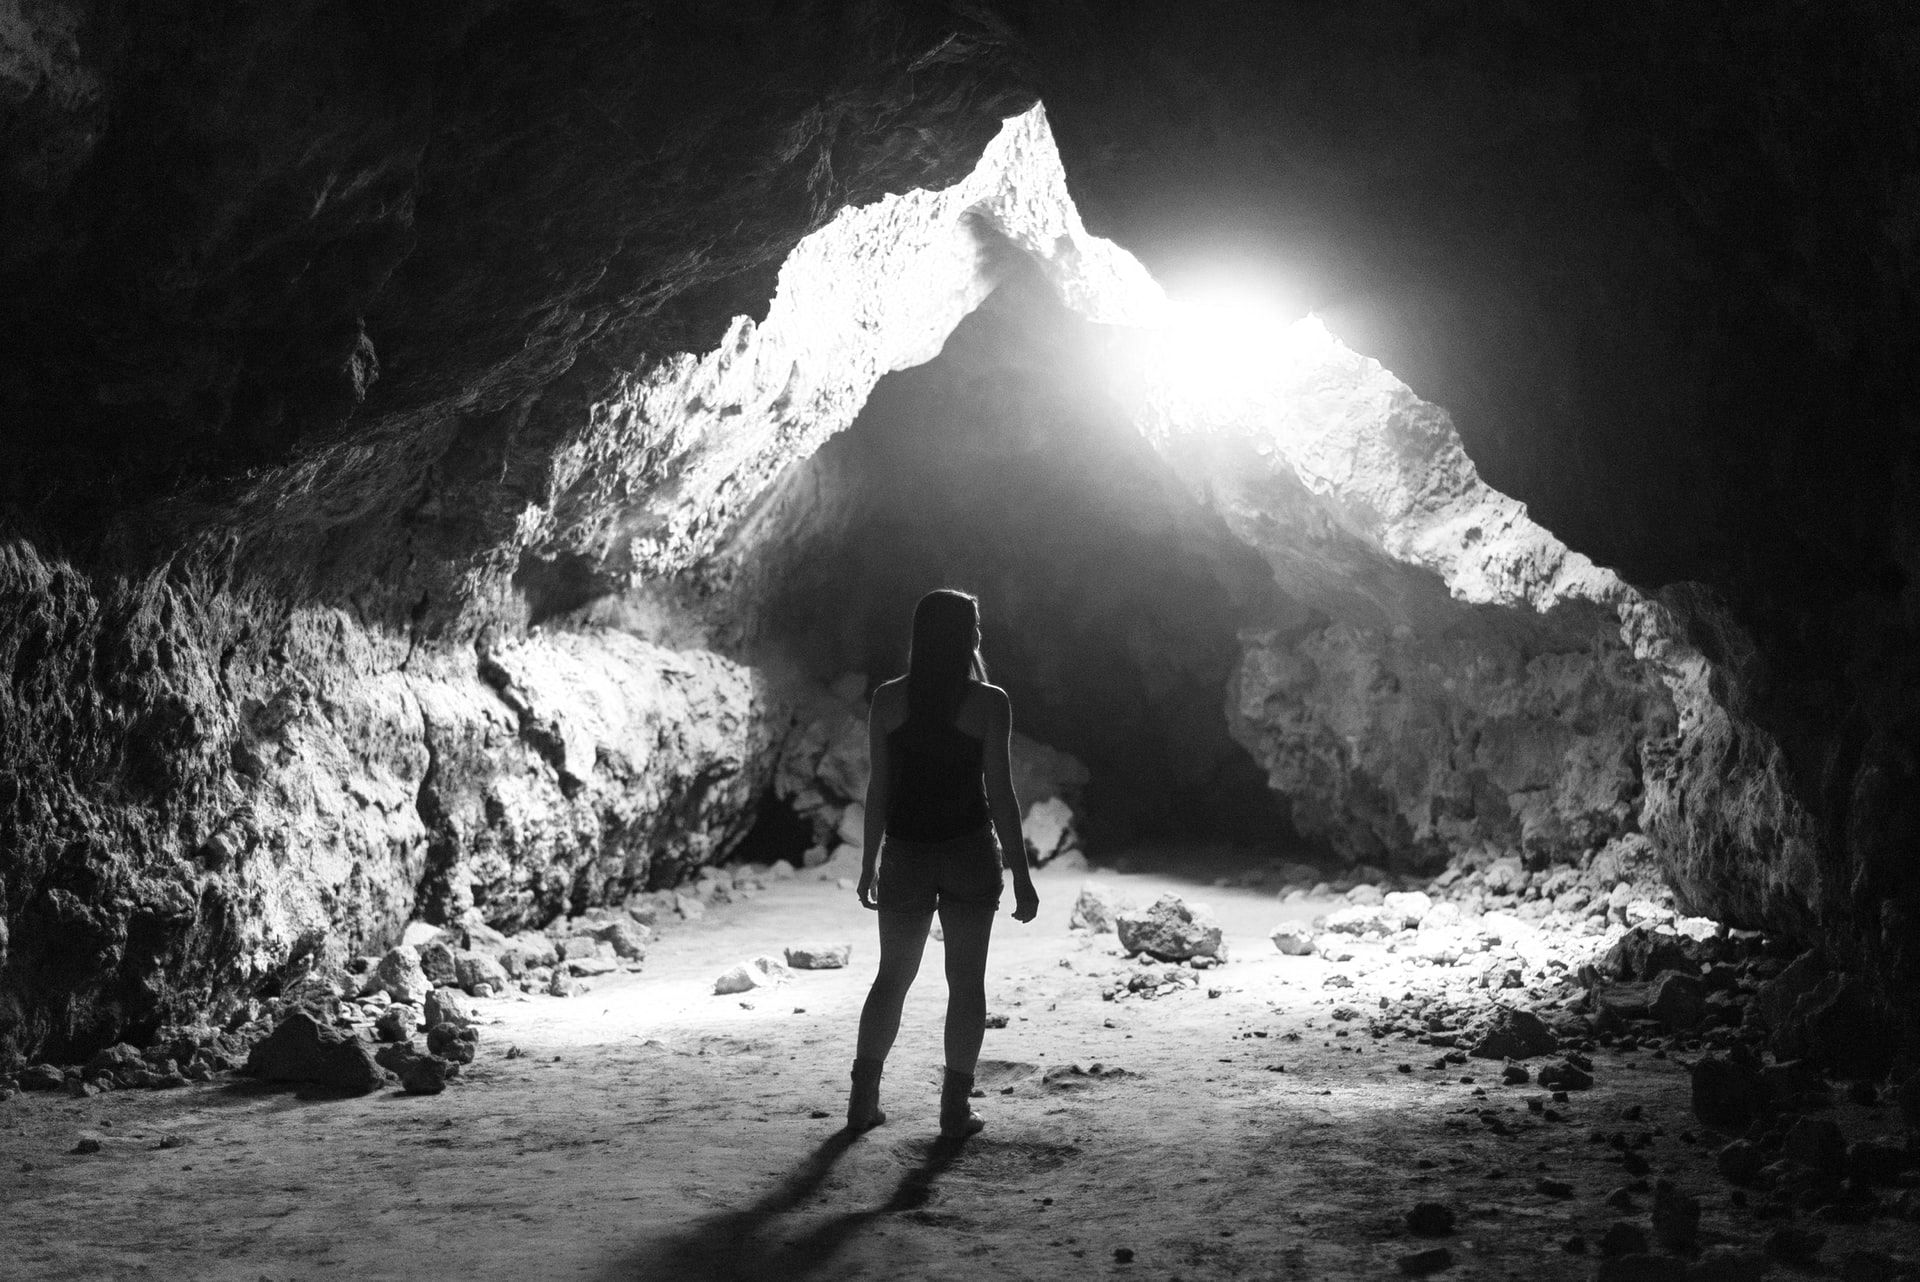 Photo by Joshua Sortino on Unsplash
We’ve been here before at the Cavern of Torment, so when we Discover a Site, we already know that it’s a Corrupted Cavern. The lower of two Challenge Dice is a 3, so our progress is scaled back 8 - 3 = 5.
She follows her previous progress to Delve the Depths => weak hit => progress and a Danger. There’s a hostile denizen here at this cave pool, which turns out to be a Bladewing. Perhaps she can sneak past it? Face Danger (+Shadow) => miss and the creature comes at her in a sudden, swift attack. She’ll Enter the Fray => weak hit and chooses to take initiative as this dark, leathery predator descends upon her. Strike => weak hit, she deals her damage and then it falls to her. Clash => strong hit, she does her damage and then Ends the Fight => strong hit. The lifeless creature falls to the ground next to her and she moves on.
Amara continues on with her Delve => weak hit => progress and a Danger. A discovery here complicates her quest. She’s at some unusual or unexpected feature, so we Ask the Oracle for an Aspect and a Focus to get Crafted Alarm. That’s a pretty obvious implication and she won’t be getting any surprise on the horrors. In fact, this means it feels like the right time to Locate the Objective before it can muster a response, and we get a strong hit, allowing us to mark progress on the vow.
Against the demon
First, she must burn this demonic heart from the Crystal Wood with sacred yew branches. We decide that, on a miss, she’ll need to confront some other denizen, but instead on Secure an Advantage we actually roll a weak hit. Her advantage is very short-lived; as the foul organ burns and the demon is temporarily weakened, she must confront it now. We mark progress on the vow again.
She will face off against the Formidable horror she’s sought to defeat for so long. But she’s brought the Horn of Garran to weaken it. As a Slayer who is hunting a horror, she gathers her strength for the fight and Secures an Advantage => weak hit. She’s reached maximum Momentum, and thus this feels like the opportune time to blow the horn. Face Danger (+Heart) => strong hit. We’ll reduce the rank to Dangerous and deal a single point of Harm and envision the foul corruption fading slightly as Life itself supports her fight.
We’ll now Enter the Fray => weak hit and take the initiative. She aims carefully to Secure an Advantage => strong hit, setting her up to Strike => weak hit. That’s a solid bit of damage, although she loses the initiative. In response, the demon lets out a terrifying roar and she’ll Face Danger (+Heart) => miss with a match. First, she must Endure Stress => strong hit which reduces somewhat the impact to her Momentum. To determine the complication from the match, we’ll Ask the Oracle for an Aspect / Focus again: Unusual Trigger. The demon’s onslaught begins to channel abyssal energy back against the Life from the Horn of Garran. With Death itself swirling around her, she tries to bring it down with a Strike => strong hit! This is her opportunity to End the Fight => weak hit. She marks progress, but the spiritual energy here means she must Endure Stress.
As the demon falls before her, she takes a deep breath. Fulfill Vow => miss.
The abyssal death energies here overwhelm her and she will Endure Stress while Forsaking Her Vow with a strong hit.
Somehow, despite falling, the demon wins in the end. Amara’s spirit will enter the abyss to fight on… but no longer in this world.