Sacretta Carnifexa - Part 3
The newest members of the Sacretta Carnifexa prepare to return to the Blackened Tower, steeling their resolve and replenishing their ranks. Having lost half their number in the previous incursion, the survivors have a grim understanding of the dangers that await them.
Delve
First, I need to add up the treasure from previous delve: 2 platinum, 13 gold, 104 copper, 1 bracelet worth 1 gold. Total of 2*50 + 14*10 + 104/10 = 100 + 140 + 10.4 = 250 silver and 4 copper among the three survivors, or 83 silver and 8 copper each. That will fund some armor upgrades. (I also swapped to ascending AC and fixed some errors in accounting for bonuses.)
I rolled up two new Fighters, Tahli and Keri (both randomly determined to be female). Keri has better armor, but Tahli has a bit more HP.
Thus, the roster is now:
- Vetla (she/her), Ranger 1, HD 2 (12 HP), AC 13 (ring), Atk +0, d8 (Bastard Sword), d6 x2 (Short Bow), Save 14, Movement 12
- Steko (he/him), Cleric 1, HD 1 (5 HP), AC 13 (leather & shield), Atk +0, d6 (Spear), Save 15 (+2 against paralysis and poison), Movement 12
- Latka (she/her), Fighter 1, HD 1 (4 HP), AC 14 (ring and shield), Atk +0, d8 (Long Sword), Save 14 (-1 penalty against magic), Movement 12
- Tahli (she/her), Fighter 1, HD 1 (6 HP), AC 13 (ring), Atk +1, d8 (Battle Axe), Save 14 (-1 penalty against magic), Movement 12
- Keri (she/her), Fighter 1, HD 1 (3 HP), AC 14 (ring and shield), Atk +0, d8 (Bastard Sword), Save 14 (-1 penalty against magic), Movement 12
As the group enters, I’ll make two Underworld die rolls to represent their journey back to the last area they explored. The Underclock will start at 14 as a result.
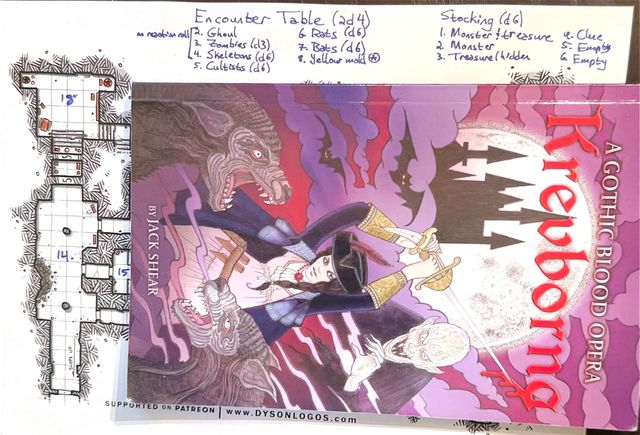
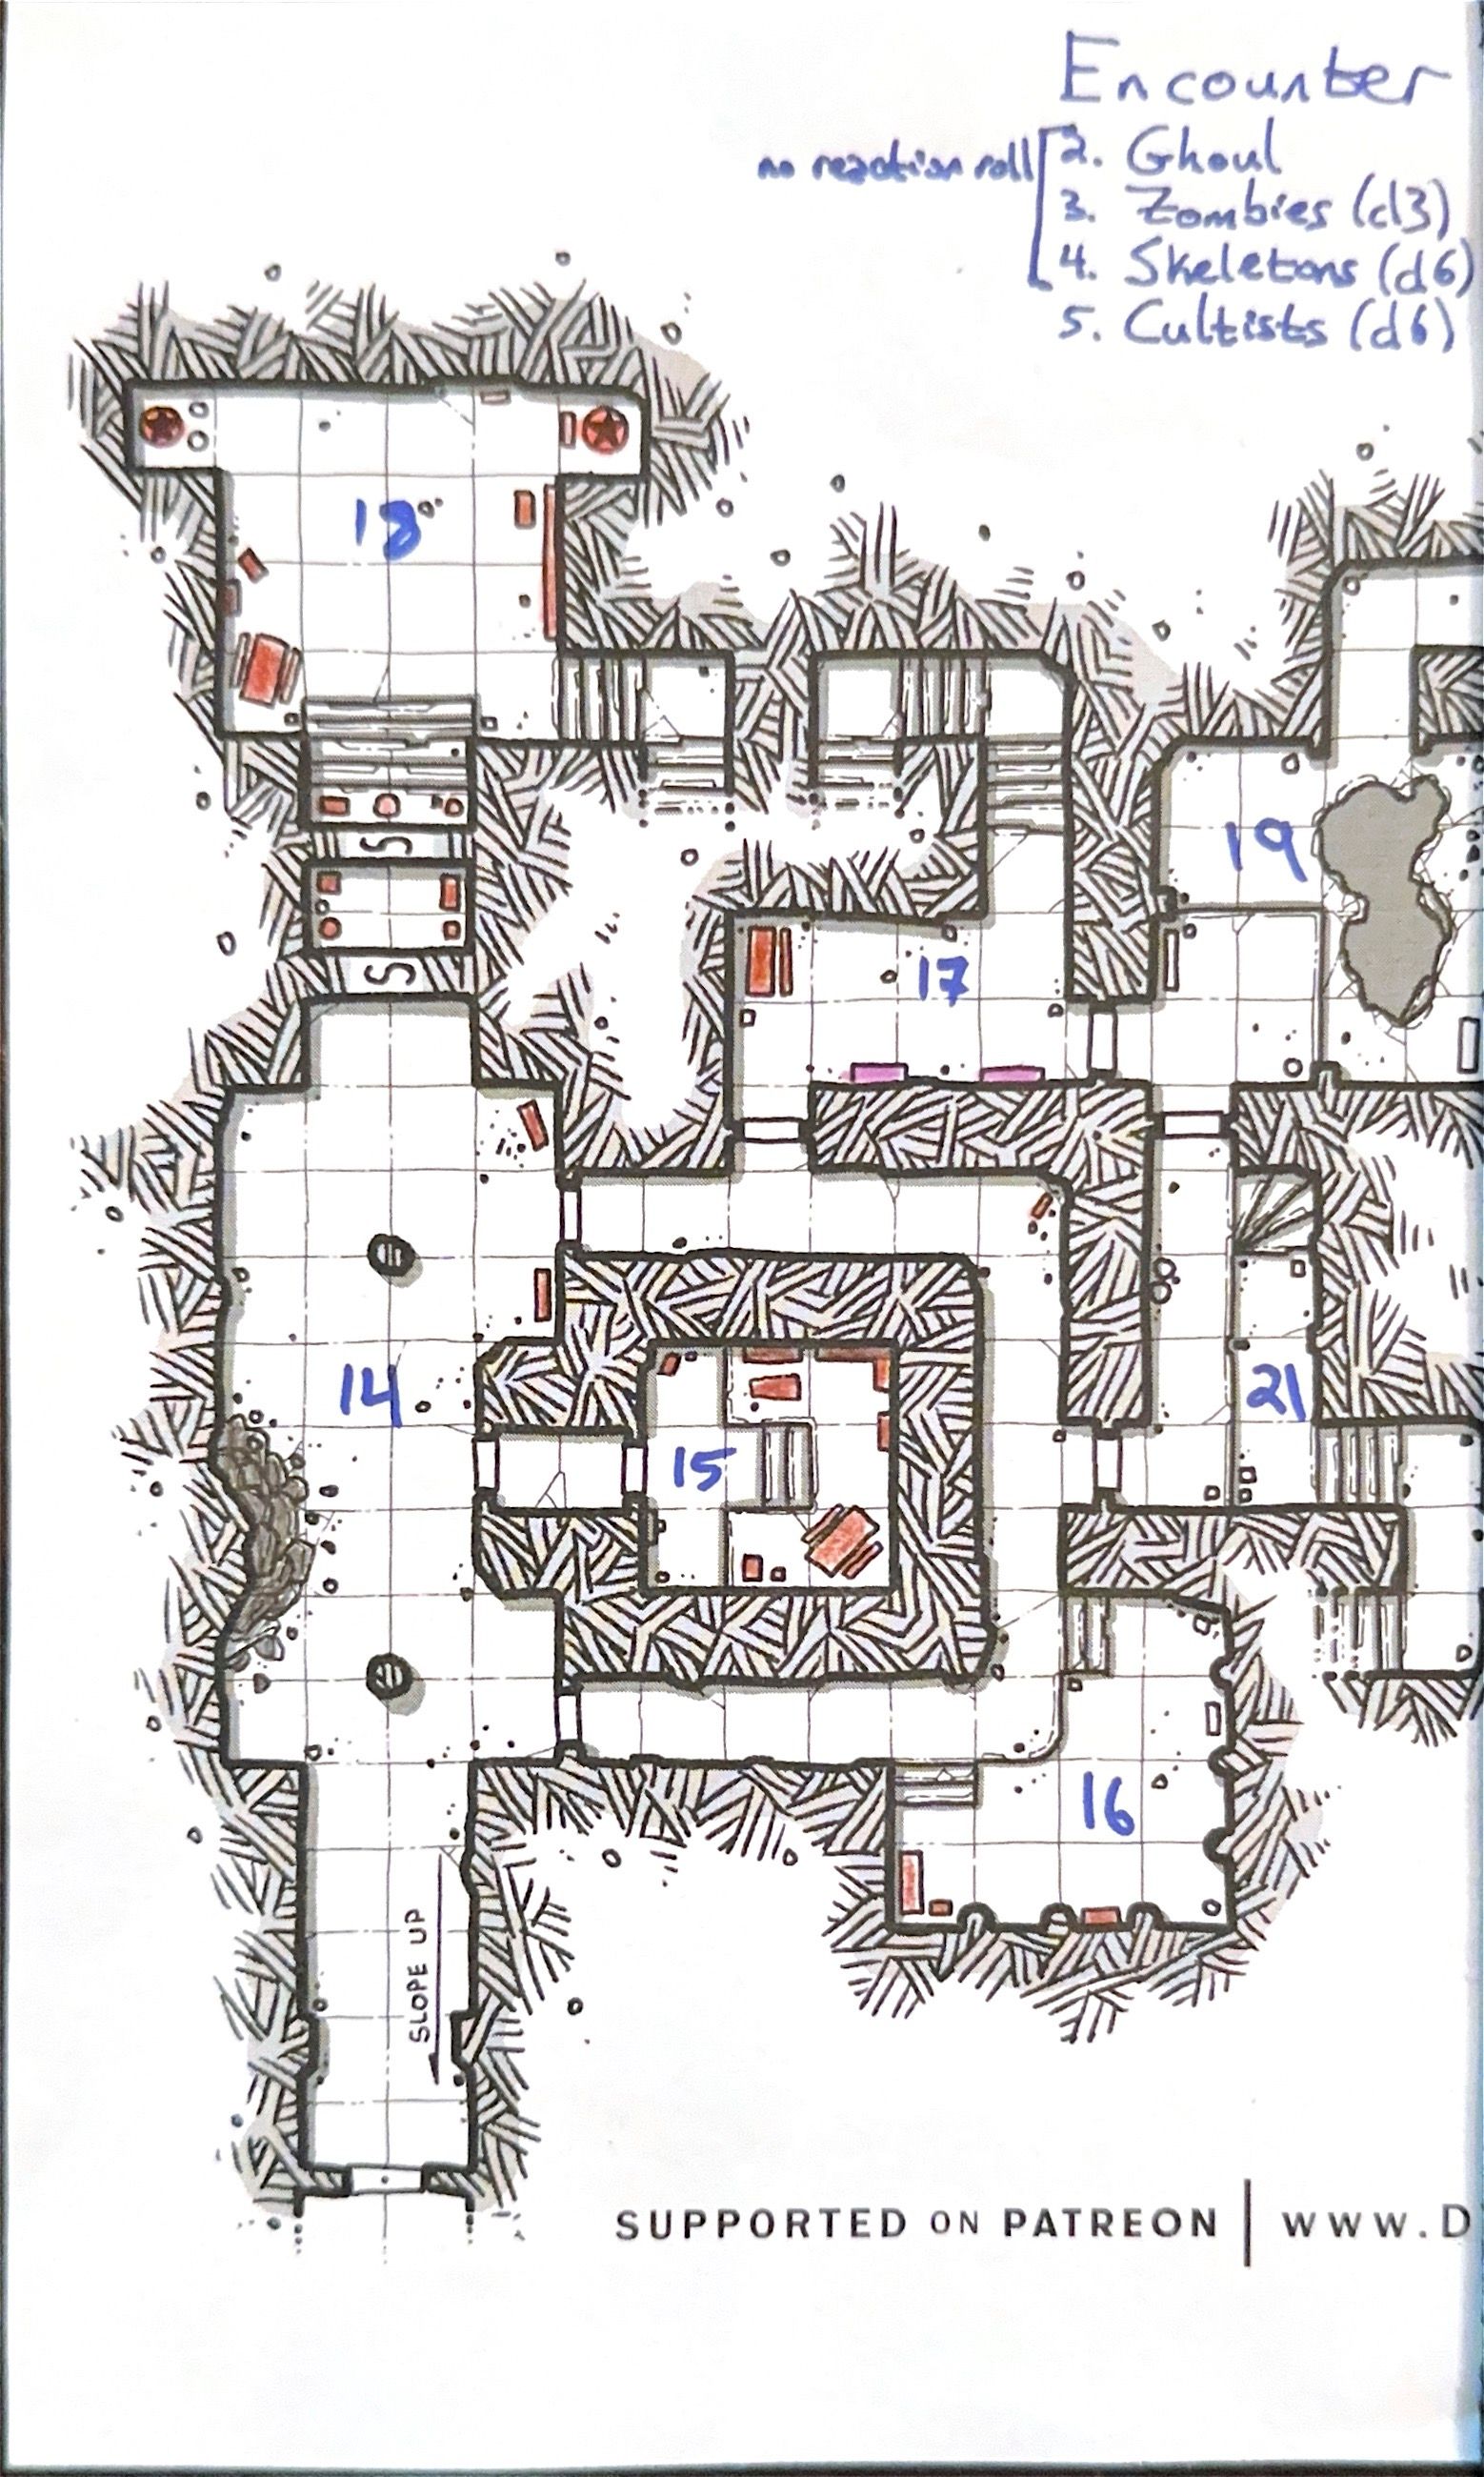 As far as they got. Cartography by Dyson Logos.
Turn 1
The group enters room 14, a sort of great hall where two of their number died last time. They can see the door at the end of the hall that leads to another statuary. Are the remains of their friends still here (50/50)? Yes. They can recover the treasure, at least, that Ziva had been carrying, and put it in Latka’s pack. Now that the danger of the yellow mold has passed, they will be able to recover the corpses for appropriate burial on their way out.
They’ll spend the turn searching the room for any indication of ongoing activity here. Vetla in particular, as a Ranger, is looking for signs of recent passage. S&W says this about Tracking (p. 22):
Tracking in the[…] underground makes it considerably harder to find and follow a trail. First, the beginning of the trail must be no more than an hour old. The base chance to track is still 90%, but each time the trail changes[…] there is a chance for the Ranger to lose the trail and be unable to track it further.
So it’s highly unlikely that someone has been here in the last hour, but that just means asking the oracle: no, of course not.
The Underclock goes down by 4 at the end of the turn to 10.
Turn 2
The group still isn’t ready to head down to the deeper part of the dungeon. Instead, they’ll go to room 16, where Albinus was previously defeated. The stocking die indicates hidden treasure here! Again, I’ll roll d3+1 to see which treasure table to roll on: 3, or the “Approximately 101 to 250 gp” table (modified for using silver pieces). But they’ll need to spend a turn searching for it.
At the end of this turn, the Underworld die rolls a 3, so the Underclock ticks down to 7.
Turn 3
The new members of the party stand watch at either entrance to this corner room and prevent any surprises. Steko must be interested in whether Albinus’s body is still here, but I determine it’s highly unlikely: no, but… there are some indications that it was removed, likely by allies. He’ll spend his turn inspecting them to see if he can get an idea of who it was, and for that I’ll roll a d20 under his Intelligence: 10 over 7, which is a failure.
The group does find the hidden treasure, and they find trinkets worth 2 gold, 9 silver, and 70 copper. For now, Keri will carry them.
As the Underworld die rolls a 5, the Underclock goes down to 2. We’re very close to encountering something nasty!
Turn 4
After confirming that the corridor that led them to room 16 does in fact curve back the other way to the great hall, they enter room 17, where they find it empty. There’s a winding stair leading further down, which they’d rather avoid for now, and two large empty panels on the wall. (Had I rolled a clue here, that’s likely where they would have been.) Another door leads further east, so rather than head down the stairs or back to the great hall for a door that must lead either to another level or to a small space, they’ll head through this door.
The Underclock goes down to -3, so there’s an encounter to start the next turn.
Turn 5
Before they can open the door, a pair of cultists enters from behind the party. No one is surprised and their reaction is hostile.
I didn’t write down the marching order before, but generally Steko (less armored) and Keri (fighter with the least hit points) will be in the rear, so I’ll assume they are closest to the enemies. The cultists are 40’ away when the encounter begins, which means they’re around the corner in the corridor.
- Cultist: HD 0 (2, 2 HP), AC 10 (unarmored), Atk +0, d6 (dagger), Save 15, Movement 12. Special: Blight 1x/day.
Fortunately, the party wins initiative; further, I decide the cultists cannot begin to cast their blights without their enemies in sight (this will apply to the adventurers in the future as well). Tahli (after passing her lantern to Keri) and Vetla will move forward to engage the cultists, while Keri and Steko ensure the area is sufficiently lit. Latka watches their back in case of a flanking maneuver.
Tahli can now grip her battle axe with both hands, but she’s unable to land a solid hit on either of the cultists. Vetla similarly wields her bastard sword with both hands without success. One of the cultists cuts into Vetla with his dagger, dealing 5 points of damage. The other misses Tahli.
In the next round, the cultists start to cast their blights; if they are able to get the casts off, I’ll roll from The Monster Overhaul to see which they are. The bad guys win the initiative as well, so with no missile fire, they’ll have their opportunity. The first one succeeds (50% chance under stress), and a Hellfire Whip lashes out in a 50’ line dealing 2d6 fire damage. Vetla and Steko must Save to dodge: both fail and take 7 damage. That’s enough to take Vetla to exactly 0, but Steko is killed! As I wrote in the first part, adventurers who are reduced to 0 HP exactly must save vs death: she succeeds exactly and will survive, assuming her party does as well. The other cultist calls down Beastblood. They will take no damage and inflict +1 damage for 1d4=1 round (although the adventurers don’t know how long it will last). After rolling the “Evidence of Unnatural Contact” table from Krevborna, it seems
they suddenly grow scaly flesh, protecting them! This is a blessing from Aleyus the Butcher. Vetla strikes at the cultist who killed Steko, cleaving him in twain. Tahli is unable to land a solid hit on the scaly cultist. I decide that, in their monstrous state, the cultist will not make a morale check until the blight wears off at the end of the next round.
Going to the third round, the remaining cultist wins initiative. They are unable to get to Vetla, who dodges easily. In turn, she strikes him down and spits on his corpse.
While Latka quietly checks over Vetla, the other two look in shock at Steko’s burned body. This is another body they’ll need to carry back out when they’re done, and so for now they leave it carefully in room 14 next to the other two. On the two cultists, they find 3 gold and a potion (of healing, although I decide they don’t know that yet) in a stoppered bottle.
The Underclock resets to 20, minus the Underworld die roll of 5, leaving it at 15.
Turn 6
They’ll need to rest for a turn due to Vetla’s injuries. This recovers all of her HP, but it also means two rolls on the Underclock and increasing the Underworld die size to a d8 after. When all is said and done, the Underclock is already back down to 4, but Vetla is ready to go.
Turn 7
Now they can exit through that door to the east into room 19. It contains neither monsters nor treasure, but what it does contain is a huge pool of blood. While this isn’t technically a “clue” from the stocking table, it should be enough to count as an discovery that they’ll need to report to Brother Erlan. After all, this isn’t some mere bloodstain from a long-ago fight; it’s a large pool that still froths and bubbles with a smell of iron and corruption.
Vetla will fetch the holy water from Steko’s pack, but that will take a turn. The others guard the entrances, wary of whatever demonic corruption has befouled this place.
At the end of the turn, the Underworld die rolls a 5, so the Underclock goes down to -1. We’ll have another encounter.
Turn 8
The encounter will be a ghoul! It’s 50’ away. Ghouls, of course, are “undead corpse eaters”, so they’ve clearly been attracted here by the various corpses of the now-former party members. Does it catch Vetla alone (likely)? Yes, but she isn’t cut off from the others. And this ghoul wears the face of someone from her past: a family member who had been buried and, at some point, turned into an abomination by Albinus. She blanches at the sight of this horrid imitation of her cousin.
- Ghoul: HD 2 (9 HP), AC 13, Atk 2 claws (d3 + paralysis), bite d4, Save 16, Movement 9. Special: Paralysis.
There’s no reaction roll for this kind of undead, so it’s merely a question of surprise: neither side is surprised. She’ll call out to the others, who will come back her up quickly (they shouldn’t have let her go alone in the first place). This round, initiative is simultaneous. She’s retreating smartly to her allies, though not turning her back on the ghoul, and it follows. I decide that Latka will lead the charge, so the melee will consist of her and Vetla. The Ranger damages it for 3 points, but Latka misses it. The ghoul, in turn, claws at Vetla and does 2 damage in addition to paralyzing her (she fails the save and will recover in nine turns). It then attempts to bite Latka, but she dodges out of the way.
In the next round, the ghoul wins initiative. In the movement and missiles phase, Tahli charges in with her battle axe held high. Keri is holding a lantern for them. When the melee begins, the ghoul makes both of its attacks against Latka, succeeding both times. It thus does a total of 5 damage to her; she doesn’t make the saving throw because this kills her. Tahli hits it for another 2 points; it’s down to 4 HP.
Simultaneous initiative again occurs in the third round; Keri will get a chance to attack it from behind. Tahli misses, as does Keri. (At this point, I am reminded that I had wanted to engage in better tactics, but we’re in the thick of it now.) The ghoul claws at Keri, missing! It also bites Tahli for 1 damage, but the paralysis is only in the claws, per the stat block.
For the next round, I’m looking at their equipment. These two Fighters have the least equipment detail of everyone, but in particular Tahli has lantern oil. Tahli will plan to pour oil on the ghoul and Keri will throw the bullseye lantern that Vetla brought back from Steko’s corpse. Since she doesn’t need to be particularly accurate, and in fact the armor doesn’t really matter, the attacks will just be against an AC of 10 (as if it were unarmored). First, initiative: simultaneous again. Tahli misses with the oil, but Keri hits with the lantern. It has enough oil in it to do d4=1 damage (down to 3) and will take 1 more on the subsequent round. The ghoul claws at Tahli, but can’t get through her armor, and is also unable to bite anyone.
On this round, Tahli will throw another flask of oil on it, while Keri will once again attack with her bastard sword. Finally, the adventurers win initiative! Tahli’s oil misses, and Keri’s sword can’t get through its unnaturally tough hide. The ghoul’s claws don’t reach either of them, but it does claw Keri for 3 damage, taking her to 0 HP. She passes her save and won’t die - as long as Tahli can finish off the ghoul. It takes another point of burning damage before the oil from the lamp is used up, and it’s down to 2 HP.
In what will almost certainly be the final round (one way or another), Tahli wins initiative. She’s got better odds with the oil than the sword, so she’ll throw another flask. It misses. The ghoul leaps at her with its claws and teeth, but she’s too quick and stays alive!
At this point, she’s got oil all over the place from her missed throws, and a lantern in her hand. Is the ghoul at least in the center of the oil (likely)? Yes, but so is she. If she throws the lantern, they’ll both burn. Instead, she whirls her battle axe; somehow, this undead creature dodges it, then leaps in and bites her for 3 damage. She fails her saving throw, and is paralyzed.
The ghoul can now feed on the dead and paralyzed at its leisure, ensuring that they will later return as ghouls themselves.
Conclusion
With that total party kill (TPK), that will end this playthrough. The end here strikes me as darkly appropriate, with those who sought to fight the undead succumbing and becoming ghouls themselves, obsessed with the consumption of flesh and likely at the command of those who would direct them against the living and in particular the Church of Saintly Blood.
I do expect to return to Krevborna, albeit not necessarily with this focus on dungeon delving. That might mean something investigative or otherwise a bit more quest-oriented.