5 Parsecs From Home - Campaign Turn 2
This time, instead of character creation, we’ll have the full pre-battle sequence for 5 Parsecs From Home. For the record, Modiphius is having a sale on all their PDFs on DriveThru, so you can get any of their PDFs for 20% off with the code MODJAN20OFF thru February 4, 2024.
World updates
The crew of the Acidic Angel isn’t leaving Kothea 4 this turn, so there won’t be any starship travel events nor new world arrival steps.
Upkeep costs 1 credit for us, because although we have 7 crew members (more on that in a moment), one is in Sick Bay. We’ll put another 4 towards paying down our debt, which then increases by 1 due to interest (damn capitalist leeches), leaving us at 23 Debt and 11 Credits.
Reyna Crowder’s down to 2 more turns in Sick Bay and that will end that for now.
Crew Tasks
Last time, Stroud made a friend! I rolled them as a Baseline Human, so they’ll get the standard profile: 1 Reaction, Speed 4”, Combat Skill +0, Toughness 3, Savvy +0, Handgun. While the game says not to roll on the Background, Motivation, and Class tables, I’m going to do so for flavor only (they won’t get any Effects, Resources, or extra gear and weapons).
- Name: Saige Alden
- Background: 12 Low-Tech Colony
- Motivation: 72 Romance (this explains a lot)
- Class: 85 Nomad
- Personality: 76 Quirky
Sounds like Stroud, known to act a bit foolishly has a bit of a fling going; that was quick! I’ll give her the new Blast Rifle as well.
So for tasks, then, we have:
- Ellen Swales: Trade
- Gently-used Combat Armor (in need of repair before use)
- Stroud Ogden: Explore
- Pick a fight: new Rival (they were a lover, now they’re a fighter)
- Reyna Crowder: Sick Bay
- Shurl Reeves: Trade
- Odd device (we’ll pass on this)
- Thornton Darby: Explore
- Someone wants a package delivered: When we travel to a new world, if he’s still in the crew, we’ll make a few credits and possibly gain a Rival and story point
- Mark Notley: Train (+1 XP)
- Saige Alden: Train (+1 XP)
Job Offers
We have a standing offer from a private organization last campaign turn, plus potentially another from our existing contact (Worldwares) and we’ll try to do one of those now. Worldwares in particular is offering +1 credit in Danger Pay and the job needs to be done this turn. There’s another condition, too: turns out, the corp is a bit Vengeful, so if we fail, they’ll become a Rival.
Ellen checks into some of the rumors we’ve heard, including that prison break, but nothing comes of them yet (no Quest). And Stroud’s new rivals don’t come looking for us this time, either.
Let’s see how things go with Worldwares; the other patron will wait until next turn.
- Deployment Condition: Slippery Ground (all movement at ground level is -1 Speed)
- Notable Sight: Nothing special
- Objective: Deliver a package
- Enemy: Hired Muscle
- We’ll be at -1 to Seize the Initiative
- Unknown Mercs: The Fringe is crawling with mercenary bands looking to make credits for para-military work. Most are sort-of honorable, at least when dealing with other professionals.
- Lets just call it a day: If they are down to 1 or 2 figures remaining, they will accept ending the fight at the end of any round. Neither side Holds the Field in this case.
- Panic 1-2, Speed 5”, Combat Skill +1, Toughness 4, AI T [Tactical], Weapons 2B
- Regulars: Military Rifle
- Specialist: Rattle Gun
- Numbers: 4 Enemies (2 Regular, 1 Specialist, 1 Lieutenant)
- No Unique Individual
While we might not have a rival fight, clearly somebody has hired some mercs to prevent Worldwares from delivering this package. I’ll roll on the Objects Meaning Table from Mythic GME to see what the package is: [89] Tool. That helps with figuring out what the battlefield will look like.
Battle
There are a few changes from the previous scenario as we get started. I’m a bit more concerned about their heavy hitters, as well, particularly given their less-aggressive approach.
Battlefield Setup
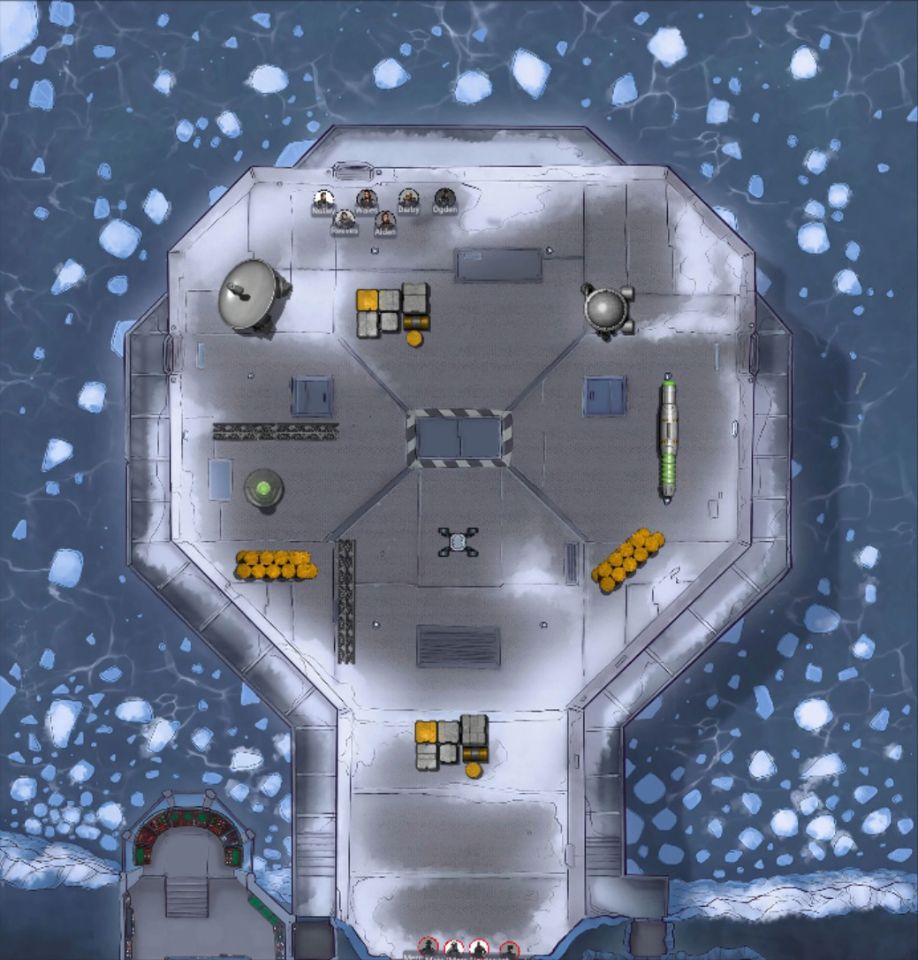
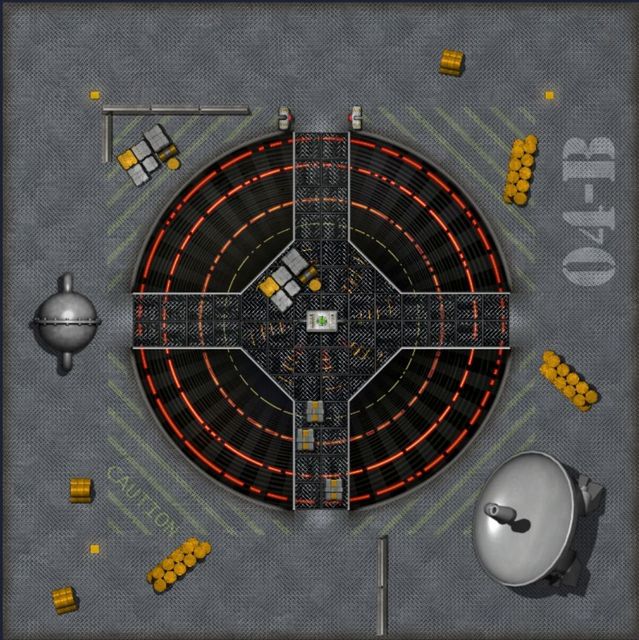
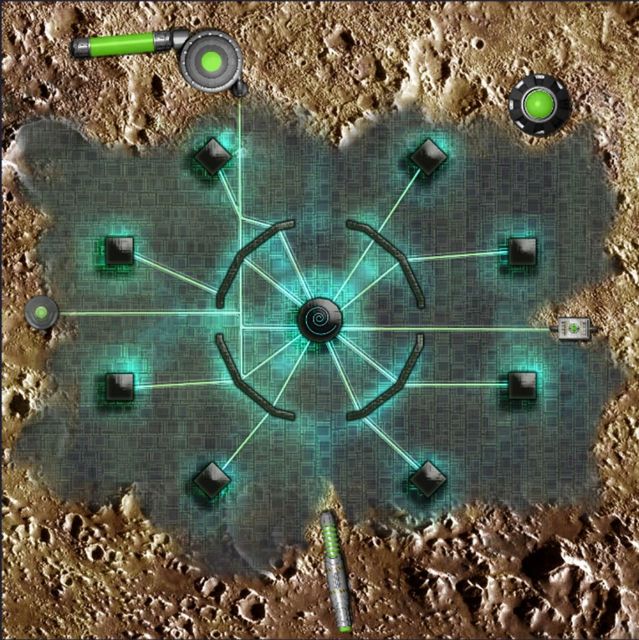
So we’re delivering some equipment to a place with slippery ground on a foggy planet, which I will thus interpret as an icy area. I grabbed Miska’s Offworld Prison map. I still added some decor to add cover and such, plus I only used one section.

Rules of Engagement
- All shots beyond 8” are at -1 to hit (World Trait: Fog).
- All movement at ground level is -1 Speed (Deployment Condition).
- Tactical enemies will advance at half speed, always retaining Cover where possible. They will cross open ground at full speed, if needed.
- They will attempt to close to within 12” of their opponents, then will move to outflank and get clear Line of Sight where possible.
- If within one move and possessing higher combat skill, they will enter a brawl; otherwise they will fire.
- If they have a clear shot and are in Cover, they will remain in place to Aim.
- Tactical enemies will attempt to remain within 3” of a friendly figure whenever possible.
Round 1
Seizing the Initiative against professional fighters is extra challenging, and we’d almost have it except for that. So we’ll enter initiative normally. None of the crew will act in the Quick Action phase.
The enemy Mercenaries all advance at the fastest speed they can, given the slippery ground, not quite making it to cover but they’re far enough away that this won’t really matter, even more so given the foggy conditions and low visibility.
Just like last time, Ogden will move to cover the eastern flank and Notley to the west. Reeves will set up behind cover with her Colony Rifle on a bipod, while Swales, Alden, and Darby take cover next to her. There’s a big open area before the drop point and nobody wants to run into it yet.
Round 2
This time, one figure will go in the Quick Actions phase, and that’ll be Ogden who wants to get to cover over behind a large fuel tank on this pad. That will require a Dash, though, and anyway the enemy is still out of range.
The enemy Mercenaries will advance again, this time getting into cover. They’re still out of range, though the Specialist is planning to set up here for a bit with his Rattle Gun that will cover the central area, denying it to us.
Flanking is going to be important here. Reeves doesn’t have a shot but needs to cover that central area as well, so she’s staying put. Notley continues to move out on the western side, but staying behind a metal barricade providing some amount of cover as well as a large antenna tower. Alden will also move west to back up the flanking maneuver and Darby does the same behind Ogden, taking care to stay out of the range of that rattle gun. Swales doesn’t have a bipod but will edge into cover, watching for an opportunity to deliver the package.
Round 3
One figure will go in the Quick Actions phase again; this time Alden moves to ensure she stays behind cover and at the edge of the rattle gun’s range.
The two regular Mercenaries continue to move at full speed, one taking cover on the west and the other headed to cover on the east (but currently in the open). Similarly, the Lieutenant moves west, with some LOS obstruction that’s not quite close enough to count as cover. To stay close to an ally, the Specialist now moves behind the eastern regular, still covering the central area.
Ogden moves further southeast, taking cover behind a long heat sink. Darby steps up where they were behind the tank. Notley hops the barricade and moves to take cover behind the antenna tower, but his scrap pistol can’t hit an enemy at this range yet. Reeves doesn’t have a shot with this range either, so she and Wales stay put, waiting for a better opportunity.
Round 4
This round, I can move two crew members in the Quick Actions phase, so Alden moves into cover. Notley finally can get behind some barrels and flank a mercenary, so he does so, taking the first shot of the battle but missing.
That same Mercenary dashes up to the other side of the barrels, keeping cover and getting nearly in brawling range if it weren’t for the obstruction. The Lieutenant advances into cover, ensuring nobody jumps his ally. On the eastern side of the map, the regular also moves into cover behind more barrels while the Specialist stays as far to the side as possible while advancing.
Ogden moves but doesn’t get to LOS with the enemies because that would require a dash, leaving them exposed. Darby continues to cover them, moving behind the same heat sink. The lack of range is really frustrating for Swales and Reeves.
Round 5
Two more figures can go first before the enemy this time. Ogden takes a risk and moves over to fire at the rattle gunner, hitting but only stunning him. Similarly, Alden exits cover and fires at the regular, but misses.
On the west side, one of the Mercenaries flanks Notley and takes a shot, missing due to cover. The other dashes to Ogden but won’t be able to fight this turn. That prevents the Specialist from firing, so they’ll try to take cover from Alden at least (and remove their stun marker). Finally, the Lieutenant steps out of cover and shoots his military rifle at Alden; fortunately, the shot goes very wide.
Notley moves up to brawl with the regular, rolling 1D6+2 vs 1D6+1 and losing, suffering an additional hit for rolling a natural 1. This takes down our first crew member. Darby dashes up but cannot enter a brawl yet. Reeves finally has a shot on the Lieutenant and aims carefully before taking it - and the enemy goes down! Swales doesn’t have a clear run to the delivery spot yet, nor a good shot, or a chance to make it to another bit of cover, so she’ll hold.
At the end of the round, I roll to see if any of them bail, but they’re still in it for now.
Round 6
We get one figure to activate in Quick Action this time, and I think it needs to be Alden who’s a little exposed. She’ll move back to cover, but won’t have a shot due to the large antenna tower.
One regular Mercenary is in melee with Ogden, so that’s where this phase will start. Ogden doesn’t have a melee weapon, so they’re at a bit of a disadvantage. Regardless, they put two hits on the enemy, and get a pair of natural 6s on the Damage roll, taking them down. The good feelings from that are short-lived, because that opens them up to a shot from the Specialist carrying a rattle gun (a heavy weapon that does 3 hits). Ogden goes down. The last Mercenary advances more slowly, staying behind the antenna tower.
Darby can’t get to the Specialist this round, so he’ll move closer but stay in cover from that enemy. The fog is preventing Swales from having a shot, and the antenna does the same for Reeves, which is endlessly frustrating.
Checking again for Panic, this time one of them will flee, and the Specialist is closest to the enemy edge, so they cut and run.
Round 7
Alden moves quickly and stays behind cover while lining up a shot on the remaining enemy, hitting them and taking them down. That’s the end of the battle! Swales can deliver the package now and get the team back to safety.
Post-Battle Sequence
While the Patron won’t become a Rival, there’s a chance the Hired Muscle will, and in fact that exact thing happens. That’ll be something to deal with next turn.
For now, the crew will get paid 1D6+2 = 6 credits. They’ll also find a curious data stick that contains a Quest Rumor and +1 Credit, plus a Stabilizer mod for a gun.
Now for the worst part, finding out the result of our two casualties: Notley and Ogden were both only knocked out, without any permanent injuries and will be back in action next turn.
In terms of XP, then:
- Ellen Swales: 4 XP (Survived and Won, Easy Mode)
- Stroud Ogden: 2 XP (Casualty, Easy Mode)
- Reyna Crowder: 0 XP (Sick Bay)
- Shurl Reeves: 5 XP (Survived and Won, First Casualty, Easy Mode)
- Thornton Darby: 4 XP (Survived and Won, Easy Mode)
- Mark Notley: 2 XP (Casualty, Easy Mode)
- Saige Alden: 4 XP (Survived and Won, Easy Mode)
A few of them will then spend some of this XP.
- Ellen Swales: +1 Reactions
- Shurl Reeves: +1 Combat Skill
- Thornton Darby: +1 Combat Skill
- Mark Notley: +1 Toughness
Swales doesn’t want to spend credits on purchasing items yet, until the ship is paid off. However, a shady character offers her a deal (Campaign Event) and she barters off the Stabilizer (which is for heavy weapons, which we don’t have) for a hot tip (Quest Rumor).
During this downtime, Notley picks up an unusual hobby (Character Event), giving us +1 story point and he talks about it constantly. I roll on a random hobby generator and get “Rugby”. Apparently this sport has survived into the future, and Notley is a big fan.
That’s it for this campaign turn. I’m thinking it might be time to pick up and leave this world now, though. I’ll talk to Captain Ellen about it.

