Ironsworn Delve - Part 7
I’m not sure the Landwarning Plague is related to the demon from our initial quest.
So that Formidable vow sits at 3/10, and remaining steps could be:
- Learn how to defeat the demon
- Acquire whatever is needed
- Delve the Cavern of Torment
- Confront the demon
Of course, unexpected twists could provide additional milestones.
Finding a Warden
Before doing anything else, Amara will Sojourn in her home community of Watchtower for a while. A strong hit will give her 3 actions:
- Consort (+2 Spirit)
- Provision (+2 Supply)
- Recuperate (+2 Health)
She then will focus on the Recuperate, roll +Heart for a strong hit and get +2 more Health. All this represents spending some time rejoicing in the fulfillment of a major vow and reconnecting with her family and friends after so much time away to confront deadly dangers.
She’d also like to find a Warden and reconnect with the faction. With Kalima’s death and her own questing, she has been isolated for some time. To find one, she’ll speak with community elders and Gather Information with a strong hit. A Free Warden (not assigned to a specific community) passed by a few days ago while tracking some raiders. The elders did inform him of Amara’s efforts as well as the untimely death of their Warden.
Does Amara already know him (50/50)? Yes with a 100, she has known Malik since she was small! If she can find him, perhaps he could even administer her oath.
Starting a delve
But now she needs to track him down, which might prove challenging given his expertise as a Warden. Once again, she’ll Gather Information to see if she can figure out his track, and we roll a weak hit. The location oracle says Foul Fields which we will actually use as the name of a site! Has he been captured (likely)? Yes. So this will certainly involve a delve, but first she Swears an Iron Vow to rescue her old friend. So much has been lost, and this shaggy-haired man represents a fading connection to the focus of her young life so far. We get a weak hit for this Dangerous vow. Amara doesn’t know where he is in these fields, so we’ll Discover a Site as follows:
- Theme: Infested
- Domain: Shadowfen
- Name: Foul Fields
- Rank: Formidable
- Threat: Raider Clan (Ravaging Horde) / Intimidate the Wardens into vacating the area
 Photo by Boudewijn Huysmans on Unsplash
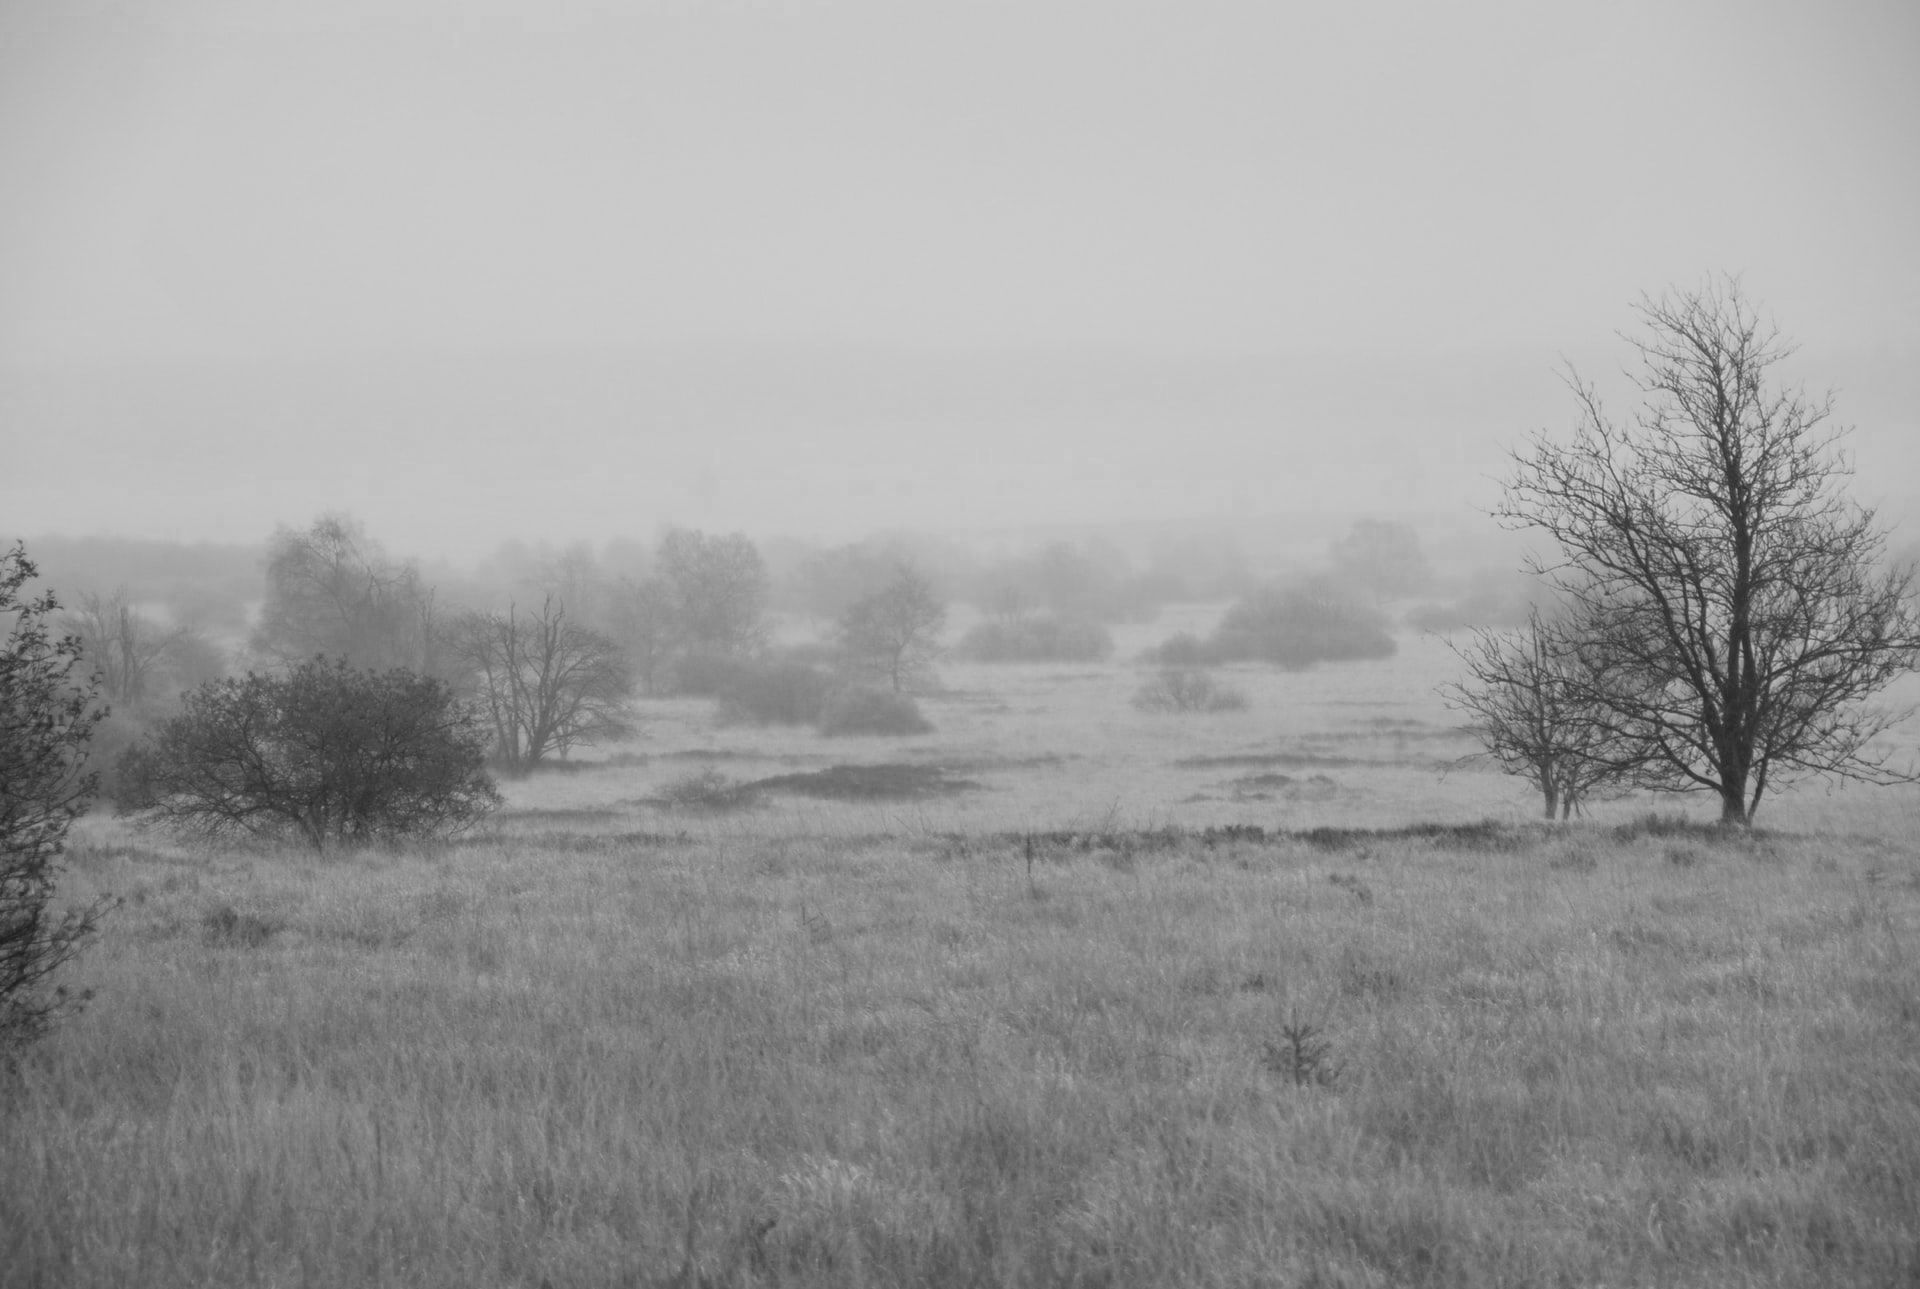
We first envision the scene as she arrives at the edge of the Fields. She can hear frogs croaking in the wetlands and smell the faint scent of decaying vegetation. A few distant lights on the horizon could indicate the location of a raider camp or perhaps something more mysterious.
By its nature, exploring a site in Ironsworn Delve has a bit of a repetitive structure, sort of like Undertake a Journey (albeit without asset benefits like Wayfinder). She uses her Wits for all the exploration based on insight, observation, and the like.
This first segment of Delving yields a weak hit. We make progress but also Reveal a Danger: an environmental hazard. Amara makes her way along a narrow path in a fetid bog but finds her foot stuck in sucking mud. As a trained scout, she uses her expertise to Face Danger and that’s a weak hit. This delay will cost her some Momentum.
Continuing to Delve the Depths, we have a strong hit. This allows her to Find an Opportunity to forage in an area that has berries and other edible plants as well as fresh water. She can Resupply here but gets a weak hit, trading 1 Momentum for a point of Supply.
On the next Delve roll, we get a miss which implies that we will again Reveal a Danger, which turns out to be related to the domain: deep water blocks the path. There’s no easy way around this and Amara will Face Danger to rig up a raft. This gets a strong hit and she gains 1 Momentum.
After clearing that obstacle, she next Delves and gets a strong hit. When she Finds an Opportunity among a pile of carrion, instead she locates a hidden path! That should lead more directly to the raider camp. Perhaps that carrion was left to mask the spoor of their passing, arranged so as to lead wildlife in a different direction.
Rodent of Unusual Size
This segment of Delving results in a weak hit, which provides more progress but also Reveals a Danger: a hostile denizen along this continuing narrow path. Unlikely as it would seem, a marsh rat surprises Amara, who must Enter the Fray due to the ambush. The huge rodent leaps to attack but we get a weak hit, so the attack misses and she takes the initiative. Using her Archer asset, she steps back and aims to Secure an Advantage, but a weak hit means she loses the initiative.
The two Clash as the rat rushes towards her. Her shots would miss but we burn Momentum for a weak hit. That lets her mark progress twice (for each point of Harm she deals), but also must Endure Harm. A strong hit with a match here enables her to embrace the pain, gaining Momentum. “Now it’s a real fight!” What does the match mean? The oracle says that this location has a Decaying Breach representing rotting ground underneath the rat.
Amara tries to knock the rat into the decay here in an attempt to End the Fight. She’ll Strike at close quarters but miss. Instead, she ends up in this small hole, losing initiative and some Momentum.
Because of this, she will react and Face Danger by putting up a strong defense against the rat’s attack: weak hit, she’ll sacrifice resources (-1 Supply) as she scrambles out.
What is the rat doing now? The combat action oracle says it readies an action, so it’s getting into a more favorable position (perhaps skirting around that hole). That will allow Amara to try to Secure an Advantage as an Archer, this time with a strong hit. Time seems to stand still as she breathes and lets her arrow fly. We roll a weak hit, dealing Harm. This rat is starting to look like a pincushion with all the arrows sticking out of its matted hide!
It jumps toward her and she dodges, Facing Danger, but our roll misses and its sharp teeth sink into her flesh again. But now the marsh rat is in extremely close quarters; maybe she can Endure Harm long enough to finish it off? Indeed, we roll a strong hit and she embraces the pain as it represents her chance to End the Fight. That yields another strong hit and she pushes those arrows into it further with her hands as it grapples her, driving the points into its heart and ending combat.
Back to exploration
Amara takes some time to catch her breath after the fight. She Makes Camp while recovering, and we roll a strong hit with a match. The oracle says Locate Ruin - wait, there are ruins here?! That’s our campsite for sure. As her two actions, she chooses to Relax to let the adrenaline wear off (boosting Spirit) as well as Focus (increasing Momentum). This also means we’ll add a second domain, and our site is now an Infested Shadowfen Ruin. Oracle rolls on the Domain card will use Ruin if they’re even and Shadowfen if they’re odd.
On the following Delve roll, we get a weak hit, and the oracle gives us progress but she must Reveal a Danger: again, this is an environmental or architectural hazard, a collapsed wall of stone. Amara Faces the Danger by trying to climb over carefully, and on a weak hit she’ll twist her ankle, Enduring Harm. That’s another weak hit, so she’ll just keep going.
The Delve continues with a weak hit and we mark progress. What’s the feature here? The oracle says 99, which means add a new theme as well! That turns out to be Ravaged as time has taken its toll in these ruins. As with the domains, odd rolls on the Theme oracles will use the Ruin card and evens will use the Infested card.
Her next Delve gives us a weak hit, once more progress but also a Danger: a discovery complicates our quest. We find a pillaged weapon, the spear of a Warden but it has the name “Kaivan” rather than “Malik”. Maybe the raiders have captured two Wardens?
Checking our progress track, we’re at 7/10 so let’s Delve a little further. On a weak hit, the oracle gives us progress and a Danger again. Resources are diminished as some of our food has rotted, using up a point of Supply.
With this much progress, Amara tries to Locate Her Objective and we get a strong hit to boost Momentum even further! Where are we, anyway? The Aspect / Focus oracle says Foreboding Entry and the feature here is remains or carrion. These inhumane raiders have stuck heads on pikes outside their camp in these ancient ruins predating the Firstborn. But the situation favors us due to that strong hit, meaning it isn’t one of the two Wardens we seek. We mark progress on the vow to rescue Malik.
Can we find him easily? If so, maybe we can mark progress again on a strong hit. She Gathers Info as a Wayfinder but we roll a miss indicating a dire threat. She’s been discovered! Is it a single guard (likely)? Yes, so she needs to silence him quickly.
Desperate combat
A raider is Dangerous, so each point of Harm will yield 2 progress but they also deal 2 Harm. Since we’ve been seen, that’s analogous to an ambush and she Enters the Fray with a strong hit. This gives her a Momentum boost as well as the initiative.
Maybe she can end this with a single well-placed shot? She Strikes with Edge but only gets a weak hit and loses the initiative although deals significant Harm.
This guard rushes her, and in the Clash we roll a strong hit with a match. She deals 3 Harm (marking progress for each) and has an opportunity to End the Fight before anyone else notices. The weak hit tells us he’s down but successfully raised the alarm!
Finding the prisoners
She needs to find Malik and Kaivan quickly, but with the raiders now aware of an intruder, she Faces Danger by fading into the shadows: weak hit and thus loses Momentum.
Amara tries again to find the prisoners in these dank ruins. The Gather Information roll is a miss, indicating an unwelcome truth: Kaivan is already dead. Rescue came too late.
As the raiders search for an intruder, she’ll Secure an Advantage by trying to break Malik out. We get a weak hit and hand him Kaivan’s spear. Now he’s armed and free, but also surprised.
“How did you find me? What are you doing? Why do you have Kaivan’s spear.”
“Don’t complain, let’s go. We can talk later.”
Of course, this marks progress on the vow but we’re not done yet. She’ll Face Danger with Shadow to evade the raiders. Our weak hit loses the advantage (represented as Momentum), so the raiders haven’t found us but are definitely searching nearby.
But since they don’t know where the Wardens are, this indicates an opportunity to Escape the Depths, staying out of sight. We roll a weak hit; the raiders will plot their revenge against Amara in the future. After marking progress, she Fulfills Her Vow to rescue Malik, getting a strong hit and 2 XP!
Wrapping up
Malik is both grateful and proud. Amara has upheld the highest values of the Wardens. The two Forge a Bond as she tells him the tale of rushing through the bogs and ruins, even leaving out the part about the rat. As we roll a weak hit, Malik still asks her for help getting to a nearby settlement. He’s not in good shape at the moment; the raiders were not kind to him. She grasps her apprentice insignia once more and Swears an Iron Vow, albeit only Troublesome. The strong hit with a match gives a good opportunity for him to realize that in fact she is only an apprentice still.
The moment has come. He administers the oath of the Wardens to her right then and there. This allows her to Forge a Bond with the Wardens faction, which starts out as a miss but clearly provides the ideal dramatic opportunity to burn Momentum for a strong hit. Her heart soars and she offers a prayer to Kalima’s spirit, wherever she is.
This gives the narrative justification to Advance and take the asset Banner-sworn based on her bond with a faction. Future quests will have benefits if they’re undertaken specifically related to her duties as a Warden.
Next time, we’ll get Malik to safety and return to dealing with the demon in the Caves of Torment.

