The Doomed - Session 2
As I pick up the second session, I want to focus a bit more on the narrative of the game. I also had DALL-E 3 generate images of the warband and the horrors. All images below came from the AI.
For starters, a Doom event occurs in the Oblivion track:
Plague: Contagion rises, infecting your Followers and dulling their senses. Any unit that would normally have Precise or Nimble loses that Skill for this battle, but you gain 1pt back to spend for each Skill lost.
Warband
I have a few more Renown points to play with this time due to the various objectives accomplished in the previous session. The warband is now built with 23 points of Renown, plus another 2 points due to Plague removing Precise and Nimble.
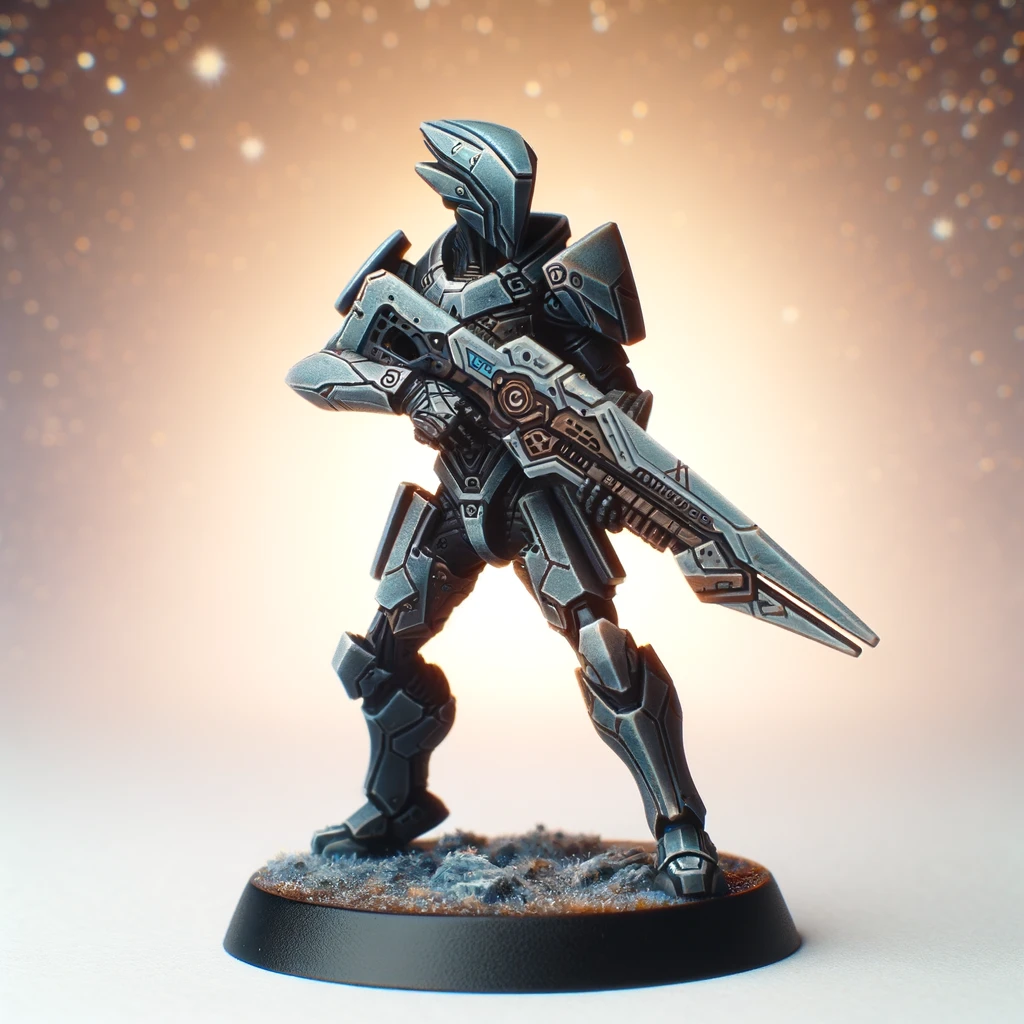
Kullax - Slayer (Fierce, QL3) [4pts]
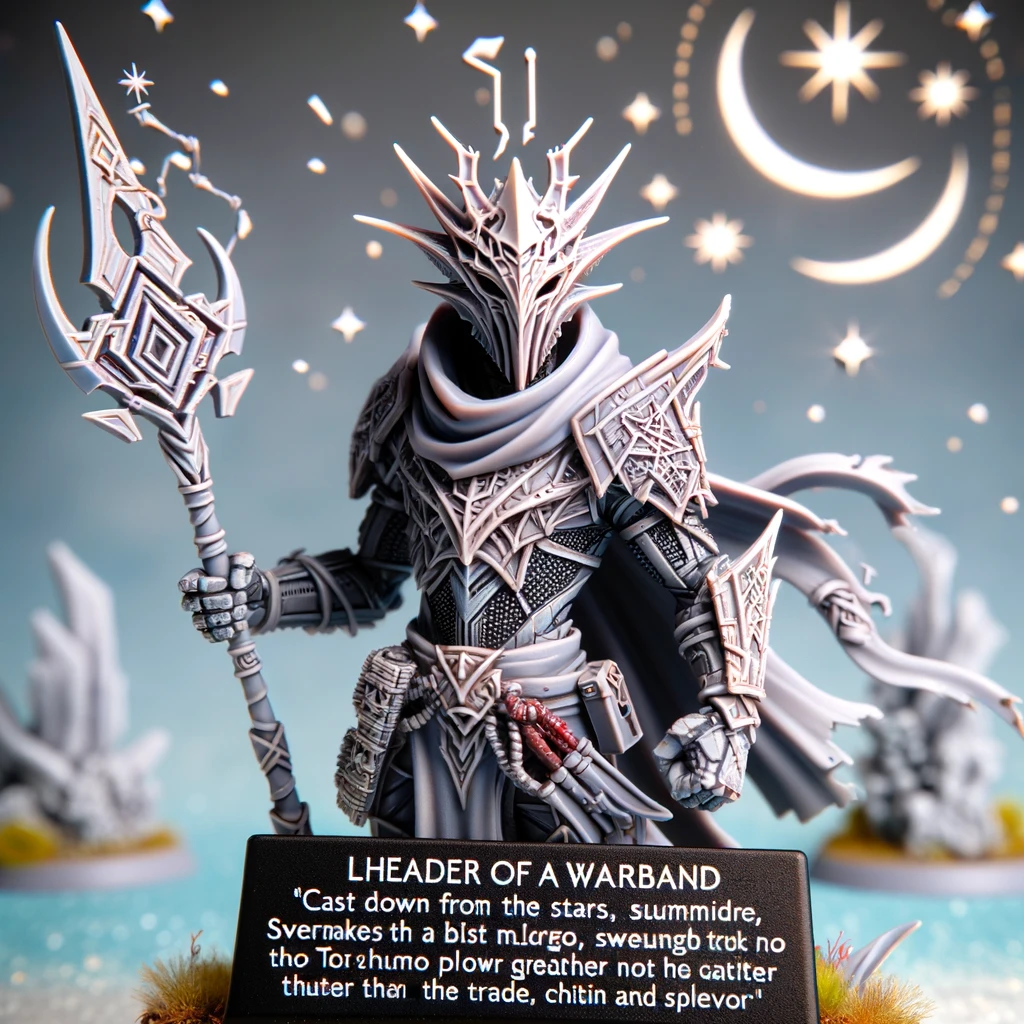 DALL-E really insisted on some text here.
- Massacre: At the end of the unit’s Turn, any Allies that can see a Downed Enemy make a Free Move or Fight.
- Dread Glaive (M1x3 - Storm: x2 Dice if the unit has not Moved this Turn and it is Readied)
- Pistol (R1x1 - Sidearm: At the end of your Turn you can make a Free Attack with this weapon. A unit may make only one Sidearm attack per Turn)
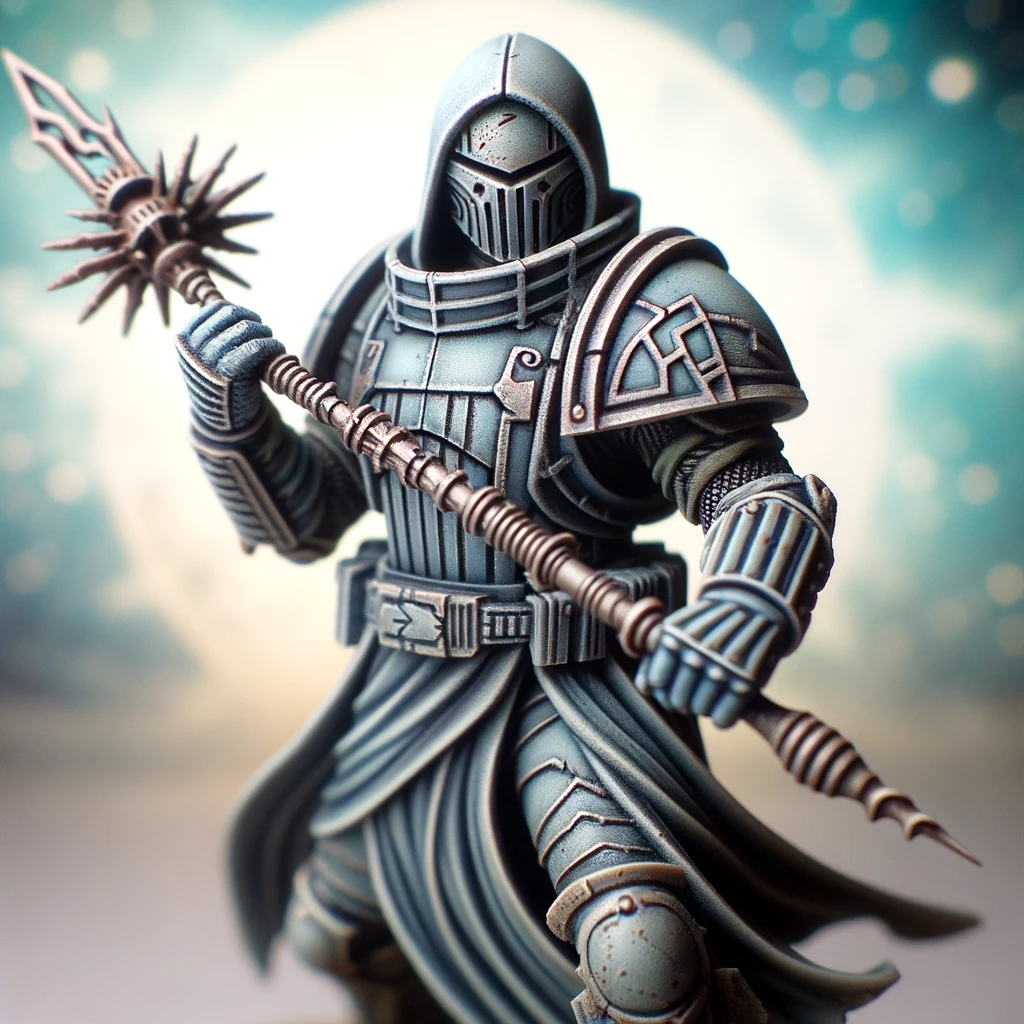
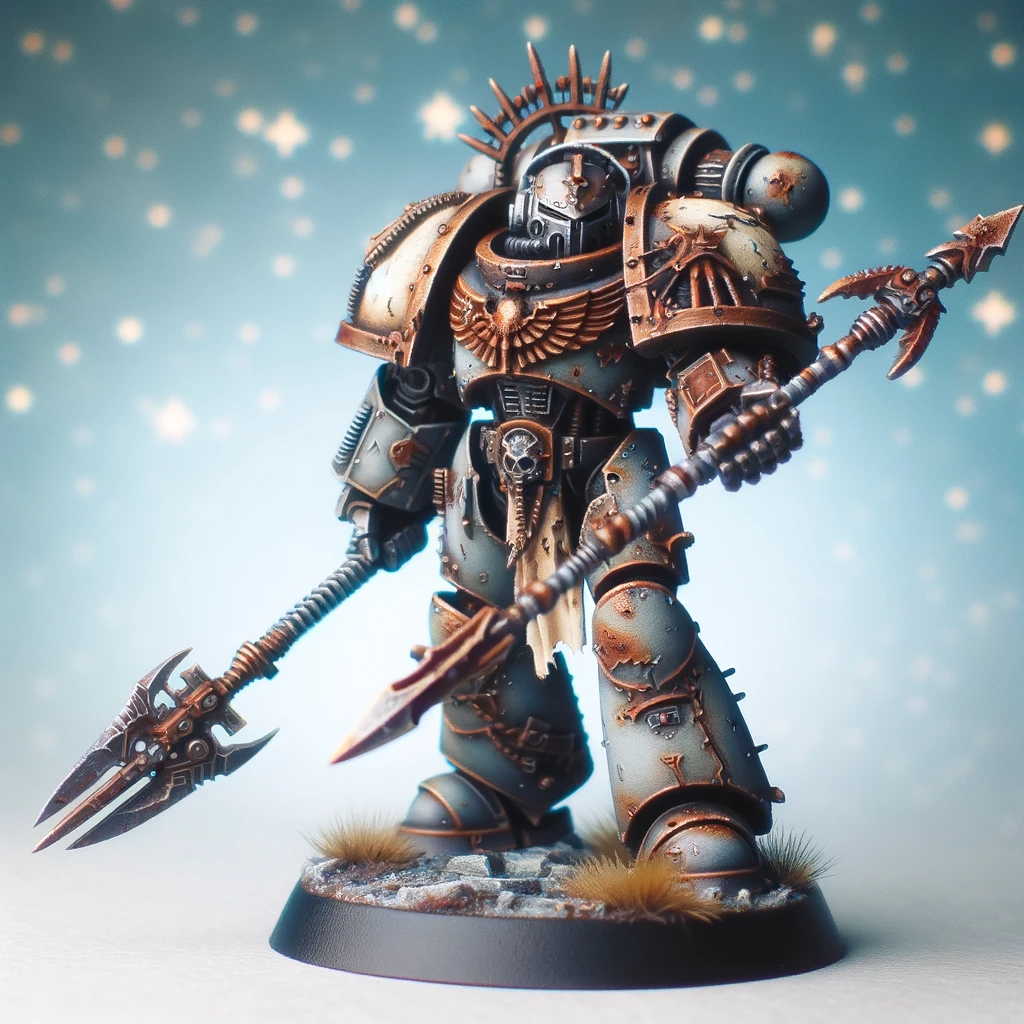
Kharn - Warrior (Fierce, Tough, QL4) [7pts]
- Injured, will die if taken out in this battle
- Spike (M1x2)
- Cloak-Shield (+1 to all Saves, no matter unit State)
Wigg - Predator (QL4) [5pts]
- Shardcaster (R3x1)
Hodug - Oathbound (Tough, QL5) [5pts]
- Gruesomely scarred
- Defender: the unit may make Saves at QL3 if it can see the Warband Leader
- Hunting Spear (M1x2 - Lethal: Treat Shock Rolls of 7 as Taken Out)
Jhish - Blooded (QL5) [4pts]
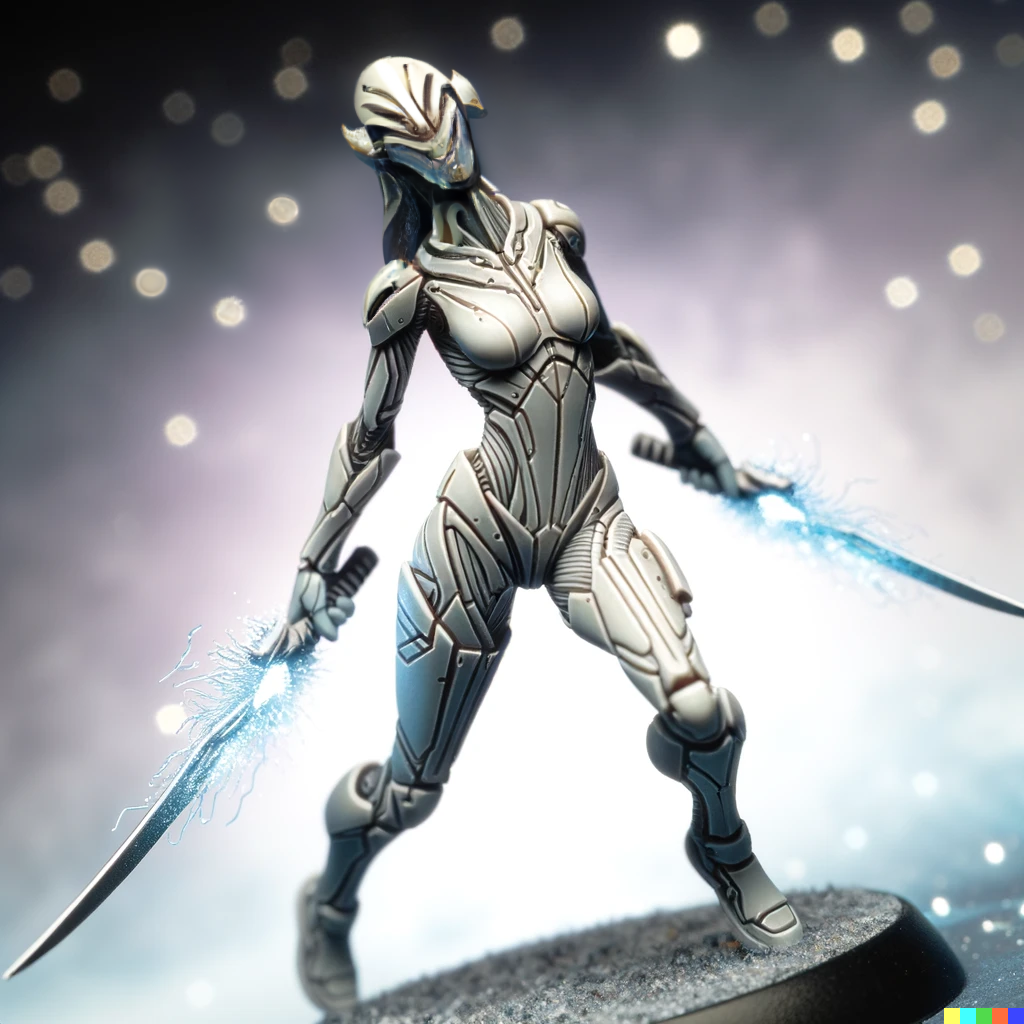
- MIA: Must be in next battle, deployed out of sight. Due to the fiction, I am not changing their skills, mods, or gear.
- Frenzy: At the end of the unit’s Turn, all Enemies touching it take 1 Damage.
- Blade (M2x1)
I then used Token Stamp to generate tokens for each of these.
Scenario 2
I went with the next horror for this second session, the Warped Hunters, “cosmic predators sworn to eradicate our world.” They come in a set of 3 and act individually but cannot be truly defeated until all 3 are killed.
For their images, I realized that they were humanoid-ish and intelligent, but they’re hateful creatures from beyond our reality. I have them somewhere between the Predator, a Xenomorph, and Lilith from Diablo 4 in my mind.
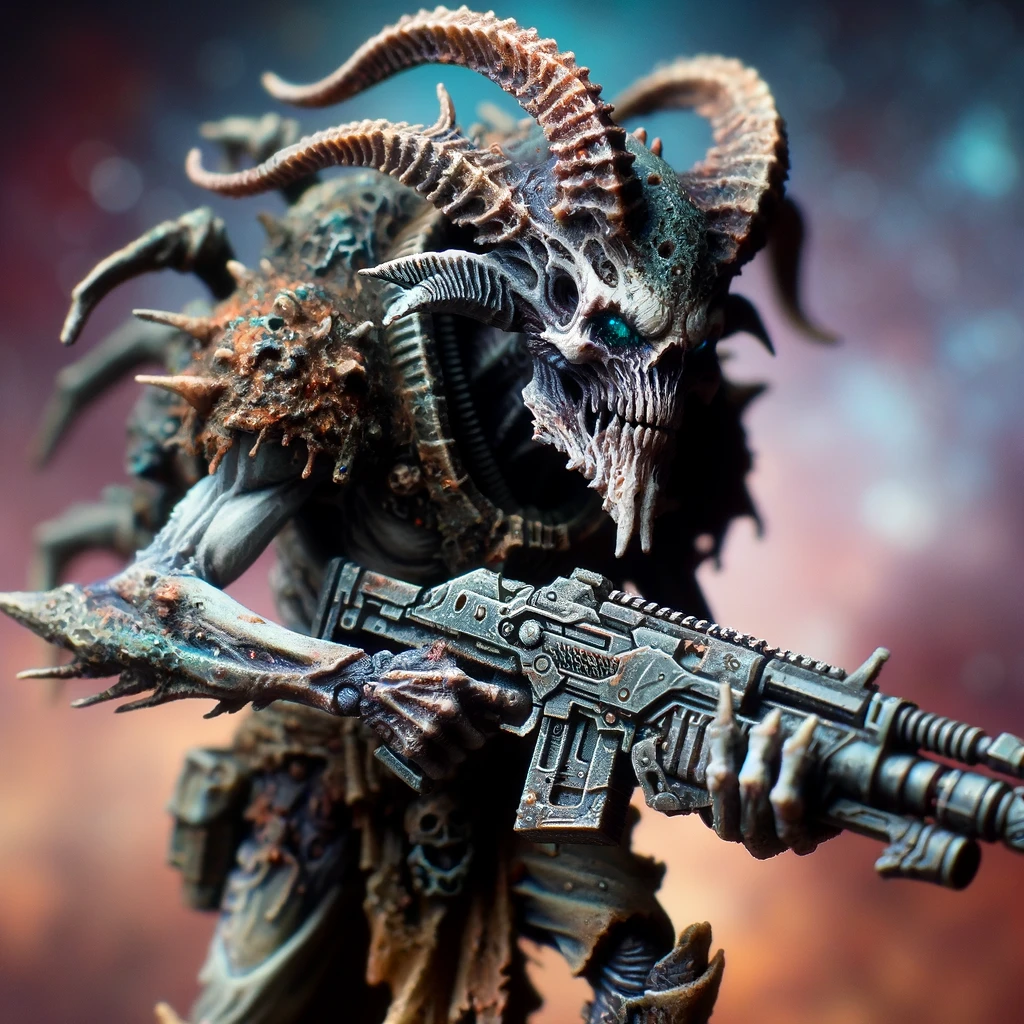
Clawed Hunter (Fierce, QL3)
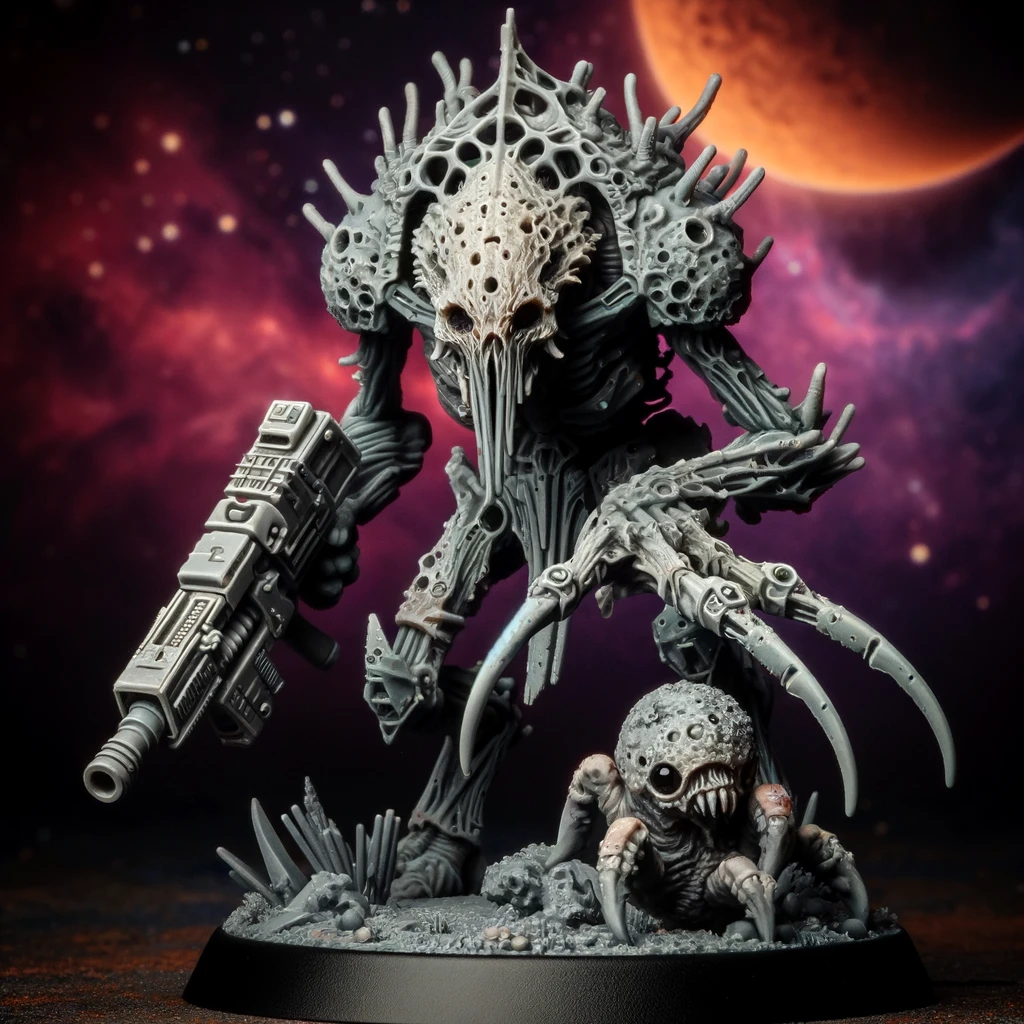 Isn’t the little baby monster cute?
- Charge Launcher (R2x2)
- Wicked Claw (M1x6 - Lethal: Treat Shock Rolls of 7 as Taken Out)
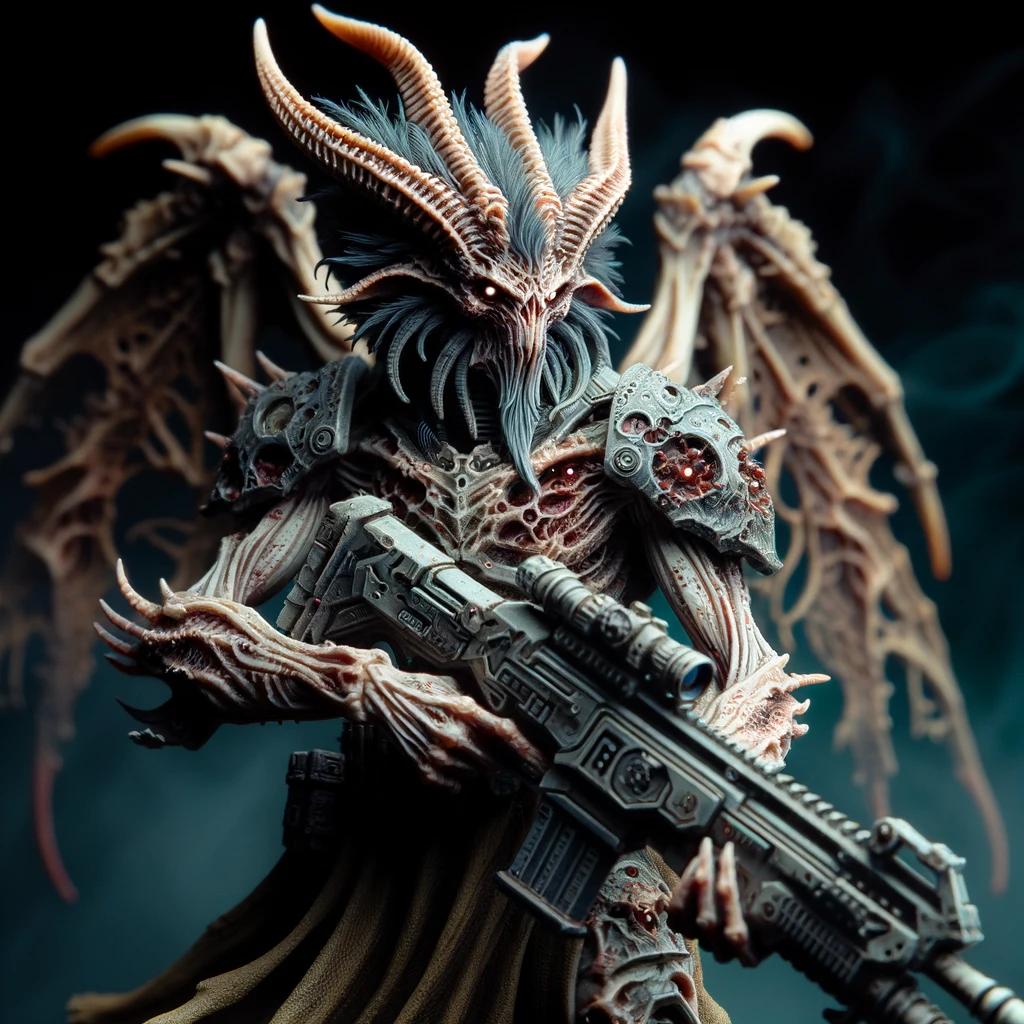
Horned Hunter (QL3) This image is straight up my favorite from the whole batch.
- Hunter Rifle (R1x4)
- Gore (M2x2, x2 Damage if the unit Moved immediately before this Attack)
Crested Hunter (Precise, QL3)
- Hunter Rifle (R1x4)
- Tear (M3x1, Attack rolls of 5 or 6 cause x2 Damage)
- Keen Eye: Ignore penalties for Shooting at an obscured target
They have no minions, but they do use their Nexuses differently.
The 3 Hunters are bound to each other’s hatred for all beings, sworn in a co-dependent trinity. They cannot die until they have seen that they can all be made to bleed.
Each hunter carries a Nexus with it that cannot be targeted on its own. Instead, when the hunter is Wounded for the first time, its Nexus is destroyed. All three Nexuses must be destroyed before any of the Warped Hunters can be killed.
As before, I have a table of effects that occur when each successive Nexus is destroyed (i.e. when each different Hunter is Wounded). The group also has a Response Table that is rolled at the end of each Round.
Round 1
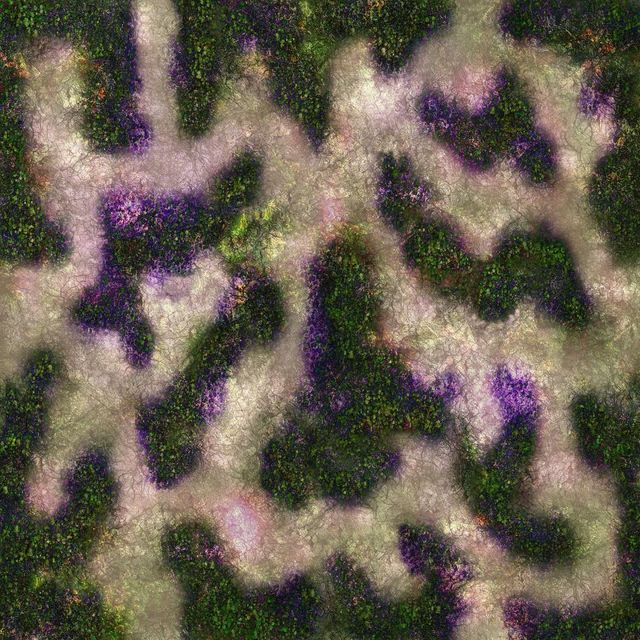
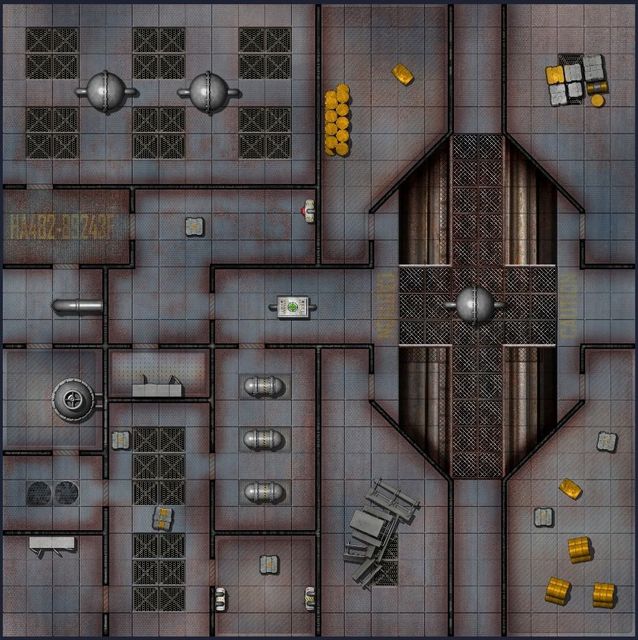
I used a junkyard encounter map from the same Loke BattleMats bundle as last time.
The Hunters deploy in the center of the board, just to the east of the central pile. Jhish (who was Lost in the last battle) deploys in a small concealed space in the center a pile near the northwest. My warband will enter on the west side of the board.
Kullax and his followers have tracked their lost comrade to a dump of bits the Company left behind. It’s a rusted-out place, and they realize quickly that they aren’t the only ones here.
Kullax enters the battlefield and immediately moves towards center. He succeeds in climbing to the top of junk pile and shoots the Crested Hunter with his Pistol (R1x1). The horror takes 1 Damage and fails save. No additional Shock effect occurs, but the Nexus is destroyed as it goes down.
As a resulting Nexus effect, all Hunters attempt a Free Recovery or Attack. The Crested Hunter succeeds on its Recovery. The Horned Hunter shoots Kullax with its Hunter Rifle and he takes 4 Damage. On failing the save, he’s Wounded. The Shock Effect is an Opportunity, giving the attacker free Move or Attack. The Horned Hunter can’t shoot again this turn, so it moves up the junk pile. The Clawed Hunter shoots Kullax successfully. The Slayer takes 2 Damage but succeeds at his save. (Note, this is a serious rules error and will be corrected below.)
The Crested Hunter, having recovered, shoots Kullax with a Hunting Rifle. Kullax takes 4 Damage but succeeds on the saves. The horror moves up to Kullax and makes a melee attack, Tearing at Kullax for 3 Damage. There’s no additional effect from the Shock table this time.
Wigg moves towards the center. They attempt to climb to top of junk pile (with a +1 bonus for line-of-sight to their leader) and succeed. Wigg takes a shot on the Clawed Hunter with their Shardcaster and the Hunter takes 1 Damage, but saves successfully.
The Clawed Hunter is equidistant from Kullax and Wigg, so I roll randomly to choose a target: it will go for Wigg the Predator. It shoots with its Charge Launcher (R2x2) and Wigg takes 2 Damage, fails the save, and is Wounded. Wigg gets a Last Gasp and can attempt a Free Action. As they go down, Wigg recovers Kullax and gets the leader back on his feet. The Clawed Hunter moves in on Wigg before using its Wicked Claw to shred them for a full 6 damage. Wigg fails their save and is thrown off the junk pile, taking another d6 = 5 Damage. They get to Fight Back, shooting the horror with a Shardcaster and scoring 1 hit. The Clawed Hunter takes 1 damage and is Wounded, getting their own Last Gasp to perform a free action. It shoots Kullax with Charge Launcher, hitting him twice. Kullax takes 4 damage, fails save, and it seems like he panics, attacking nearest target.
At this point, the sequence of events seemed really improbable. After reviewing the rules, I realized I misunderstood how Down works: “A unit that is Down cannot perform Actions other than Recover, and only on themselves. If a unit is Wounded while Down they are Taken Out without rolling on the Shock Table.”
So Kullax should have been Taken Out during the first nexus effect. I decide not to rewind any of the above, but Kullax and Wigg are no longer in the fight and are Taken Out. Also, since I’m not rewinding, there is a second Nexus effect from the Clawed Hunter getting Wounded and losing its Nexus: All Warped Hunters are Exhausted.
Kullax runs to the fight, engaging the three hunters immediately to give his team cover. He gives a good fight for a while, being joined by several followers, but these horrors are more powerful than they seem. Kullax is taken down and Wigg is knocked off the mound, taking a serious injury.
Hodug enters the battle and moves towards center. After a bit of effort, he’s able to climb to the top of the junk pile.
(While editing this report, I realize that apparently my status tracking wasn’t as good as I thought because the Horned Hunter didn’t get an activation. Realizing how badly I’d handled the Downed status really threw me for a loop.)
Jhish climbs to top of a different junk pile where she found herself. She carefully picks her way back the ground and makes it to the foot of the central pile.
Kharn moves next to Jhish before joining the fray on top of the junk pile where the Hunters are. He attacks Horned Hunter with his Spike but fails.
Kharn grins and shouts a greeting, pleased to find his comrade again. She moves cautiously towards the fight, but he’s already in the thick of it.
At the end of the round, the Clawed Hunter launches a Shock Charge against the closest Standing target (any unit that is hit will be automatically Downed). Kharn is the closest, but a unit cannot shoot if it is touching a Standing enemy (which is in fact Kharn). So no attack happens: firing explosives like that against someone a few feet away is a bad idea.
Round 2
All the Exhausted markers go away and the fight is just a big melee in the middle.
Kharn continues to assail the Horned Hunter with his Spike, this time dealing 2 damage. The target fails a save and loses its Nexus. No additional Shock effect occurs, but the final Nexus effect does and all Hunters gain Nimble (which will allow them to reroll Moves and Saves versus ranged attacks). More importantly, all the Hunters are vulnerable now. Kharn tries to finish off the Horned Hunter again but cannot find an opening.
The Warrior has great skill with his energy spike, briefly taking down this horned horror. The creatures realize they are vulnerable now and move to protect each other, fighting with renewed vigor.
The Crested Hunter Tears into Kharn for 4 damage. Kharn fails his Save and is Wounded. He’s able to try to crawl away and goes back down to the base of the pile. The Crested Hunter raises its Hunting Rifle next and takes a shot on Jhish to do 4 Damage. Jhish fails her save. The Shock effect is Savior, allowing an Ally in LOS to make a Free Move. Hodug is the only candidate, but doesn’t want to Move (this was a tactical mistake, I realize almost immediately at the start of the next Turn). The Crested Hunter uses its last action to move over to Hodug.
Hodug attacks his Crested assailant with his Hunting Spear twice but fails both times.
The Horned Hunter attempts Recovery and succeeds, getting back to its feet, then shoots at Hodug in partial concealment (around its unholy ally) with a Hunting Rifle and takes him down, although there’s no further effect. It advances on its prey, hoping to finish him off.
Jhish tries to Recover and get back on her feet but is struggling.
The Clawed Hunter slashes Hodug with its Wicked Claw, dealing a massive 6 damage and taking out the Oathbound.
At the end of this round, the Crested Hunter fires a Glitter Lance (which will ignore Save modifiers) at Kharn and takes him out completely as well.
Round 3
Jhish makes a final but unsuccessful Recovery attempt.
Seeing her feeble movements, the Crested Hunter shoots Jhish with its Hunter Rifle. She is taken out, and the battle is over.
Casualties
The warband was completely defeated.
- Kullax: Missing In Action, so the enemy will deploy him out of sight in the next battle.
- Kharn: Dead due to previous Injured status.
- Wigg: Injured and thus must be in next battle, but will die if Taken Out.
- Hodug: Injured (as above).
- Jhish: Lost; if she’s used in the next battle, she will deploy from a random table edge at the start of the second Round.
Rewards
Despite the defeat, Kullax gains +2 Renown for destroying all Nexuses. That said, since the Horror wasn’t defeated, no new Rewards were unlocked from that. He’s at 25 Renown total. No Prestige increase.
Kullax has progressed only on the following Leader Ambitions:
- Trophies: 1/3 (Devourer)
- Legend: 2/5 Nexuses destroyed (1 in each battle)
Lessons Learned
If I’d understood correctly how Downed works, I would have employed different tactics. Now that I do, I’ll use more ranged weapons and attempt to separate enemies so they can’t gang up on a unit. Having a big King of the Hill fight at the top of a junk pile was fun but made for a fight we weren’t going to win that way.
This time I used Owlbear Rodeo much better: no grid snapping (or even visibility), status markers, and dice. Better tokens from DALL-E 3 and TokenStamp made it much easier, but I think I still might keep unit stats and abilities visible in a separate document or card next time rather than page back and forth in this one.